In this tutorial, we will guide you on how to subscribe to and navigate the BC in the Cloud status page.
Go to ibsupport.statuspage.io
1. Status Page
Welcome to our status page, your one-stop destination for all service communications related to BC in the Cloud. Here, you'll find essential updates on scheduled maintenance, release announcements, and any unplanned events that may affect our services. We ensure that all service advisories are promptly posted to keep you well-informed and up-to-date.
2. Status Link
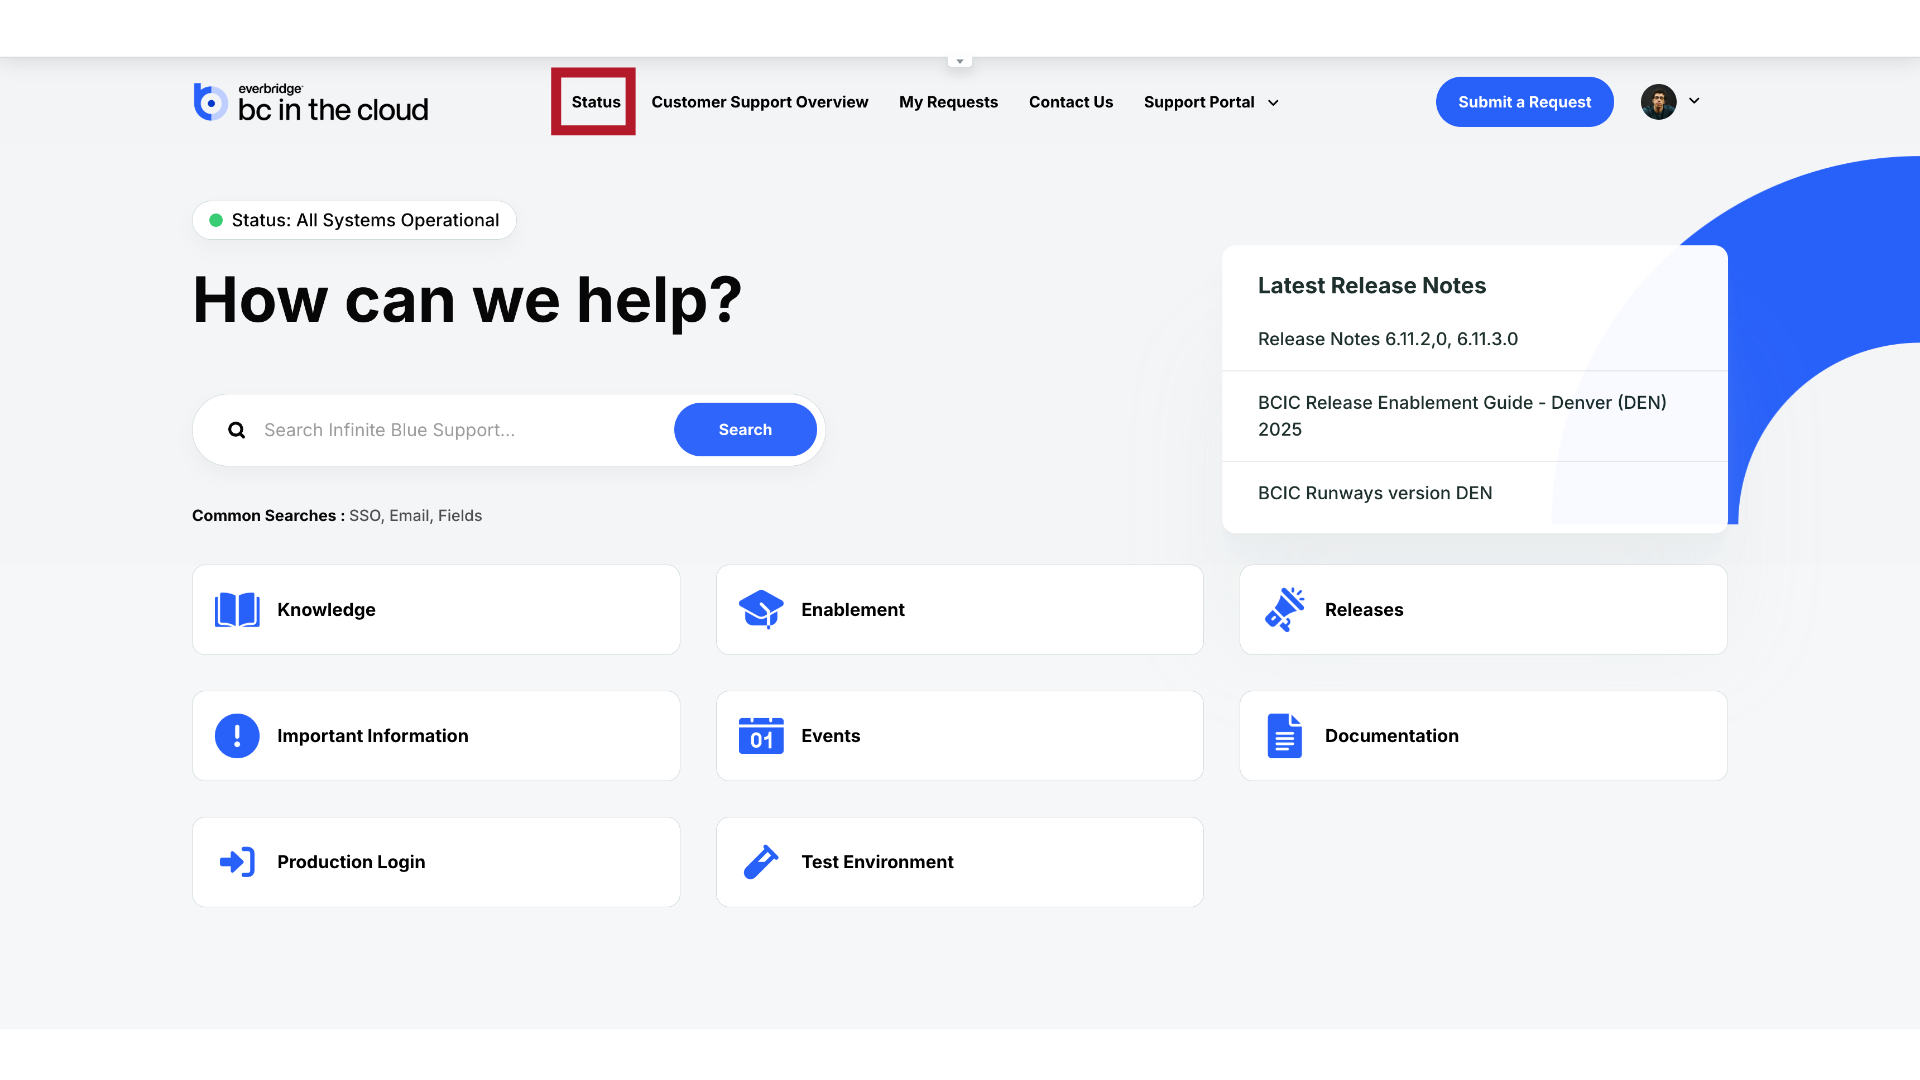
You can access this page through the Support Center by clicking the 'Status' link located in the top navigation bar
3. Status Indicator
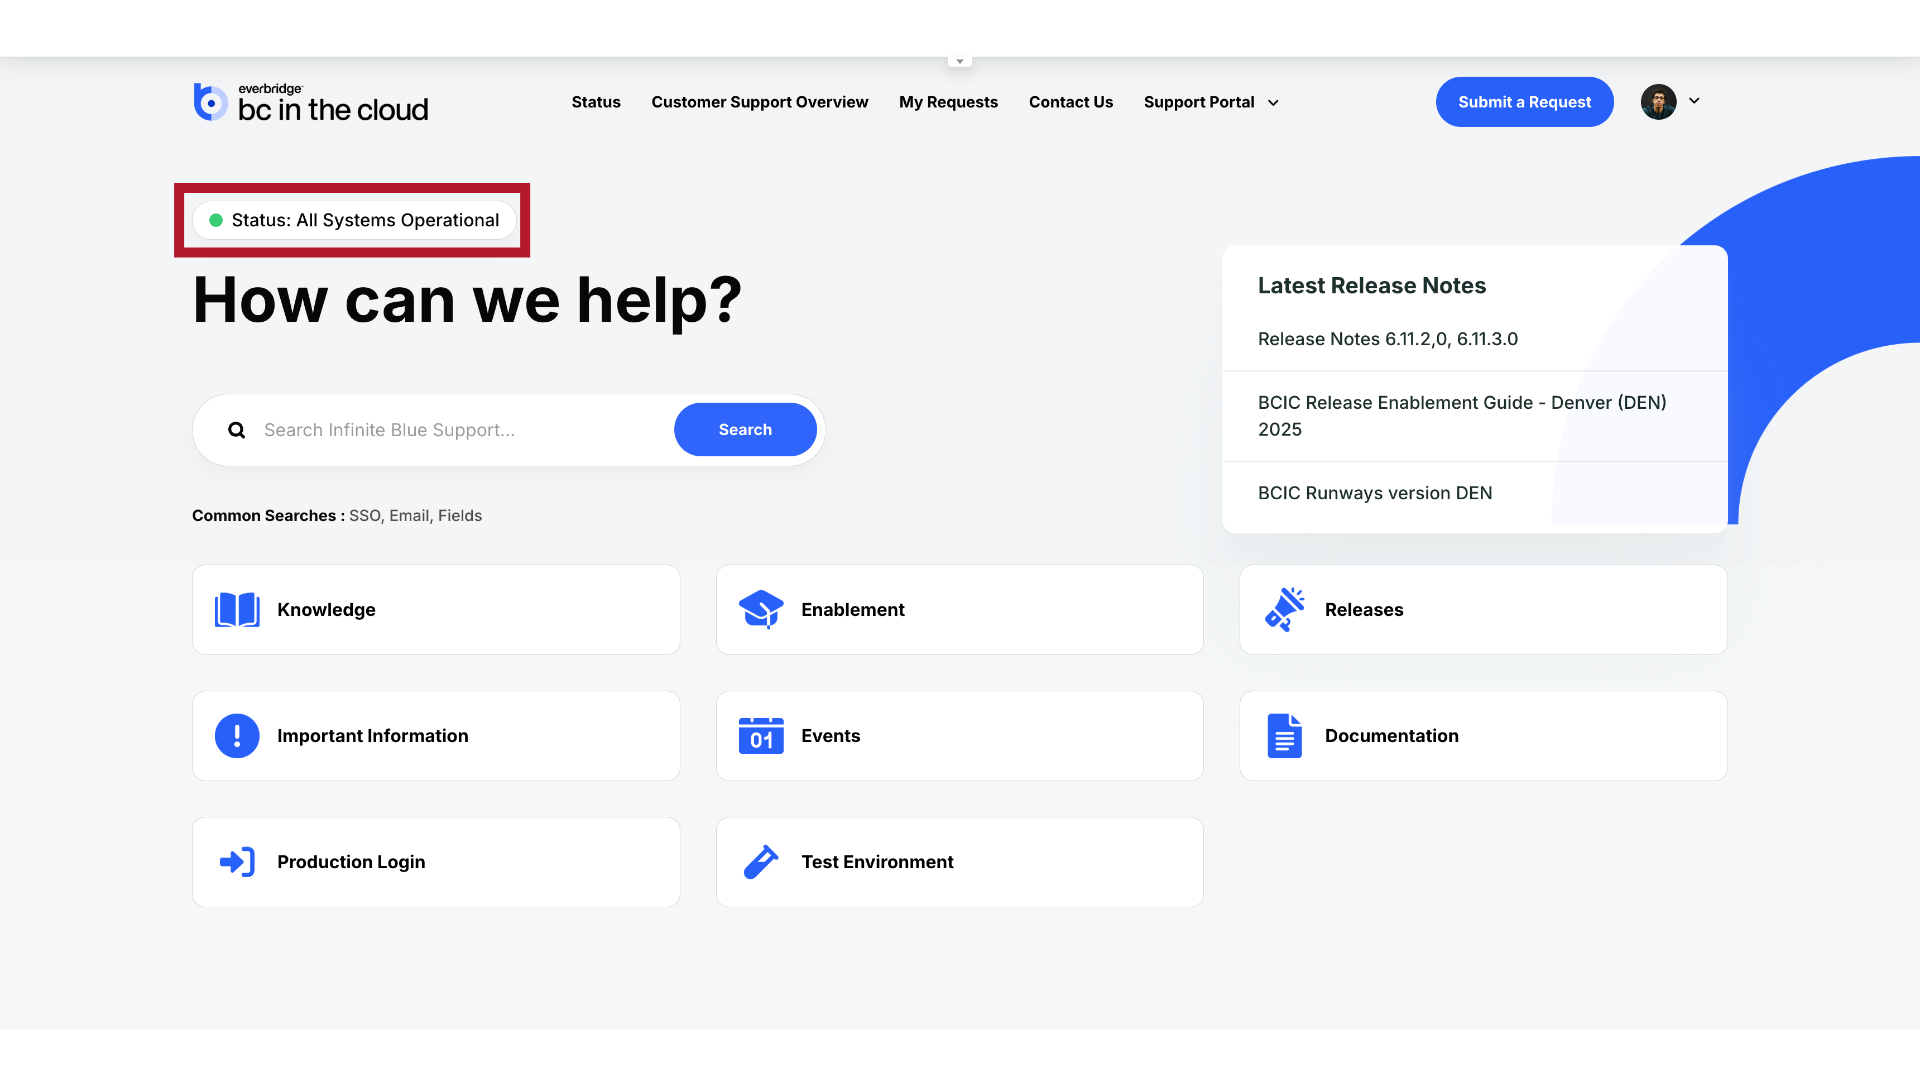
Or by clicking the system status indicator.
4. Status Page URL
Alternatively, you can access the status page directly by visiting the URL: "ibsupport.statuspage.io".

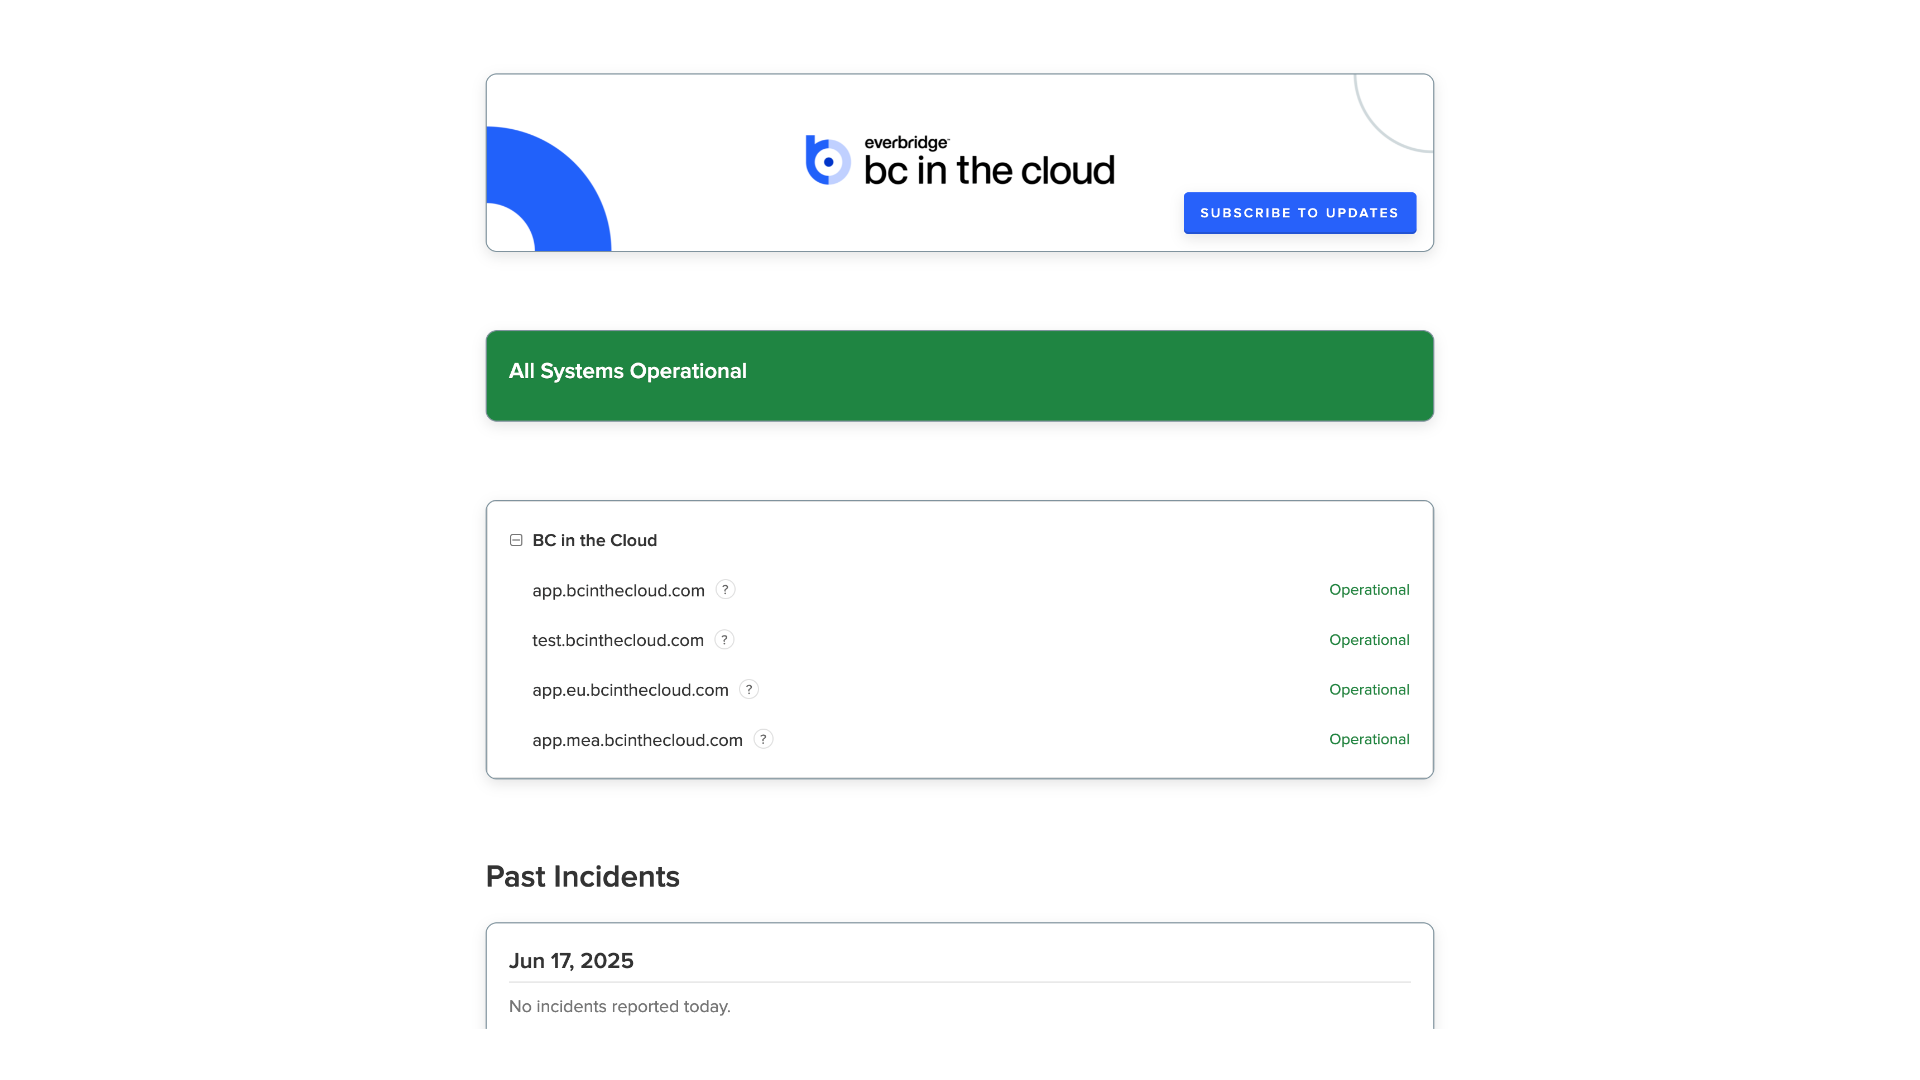
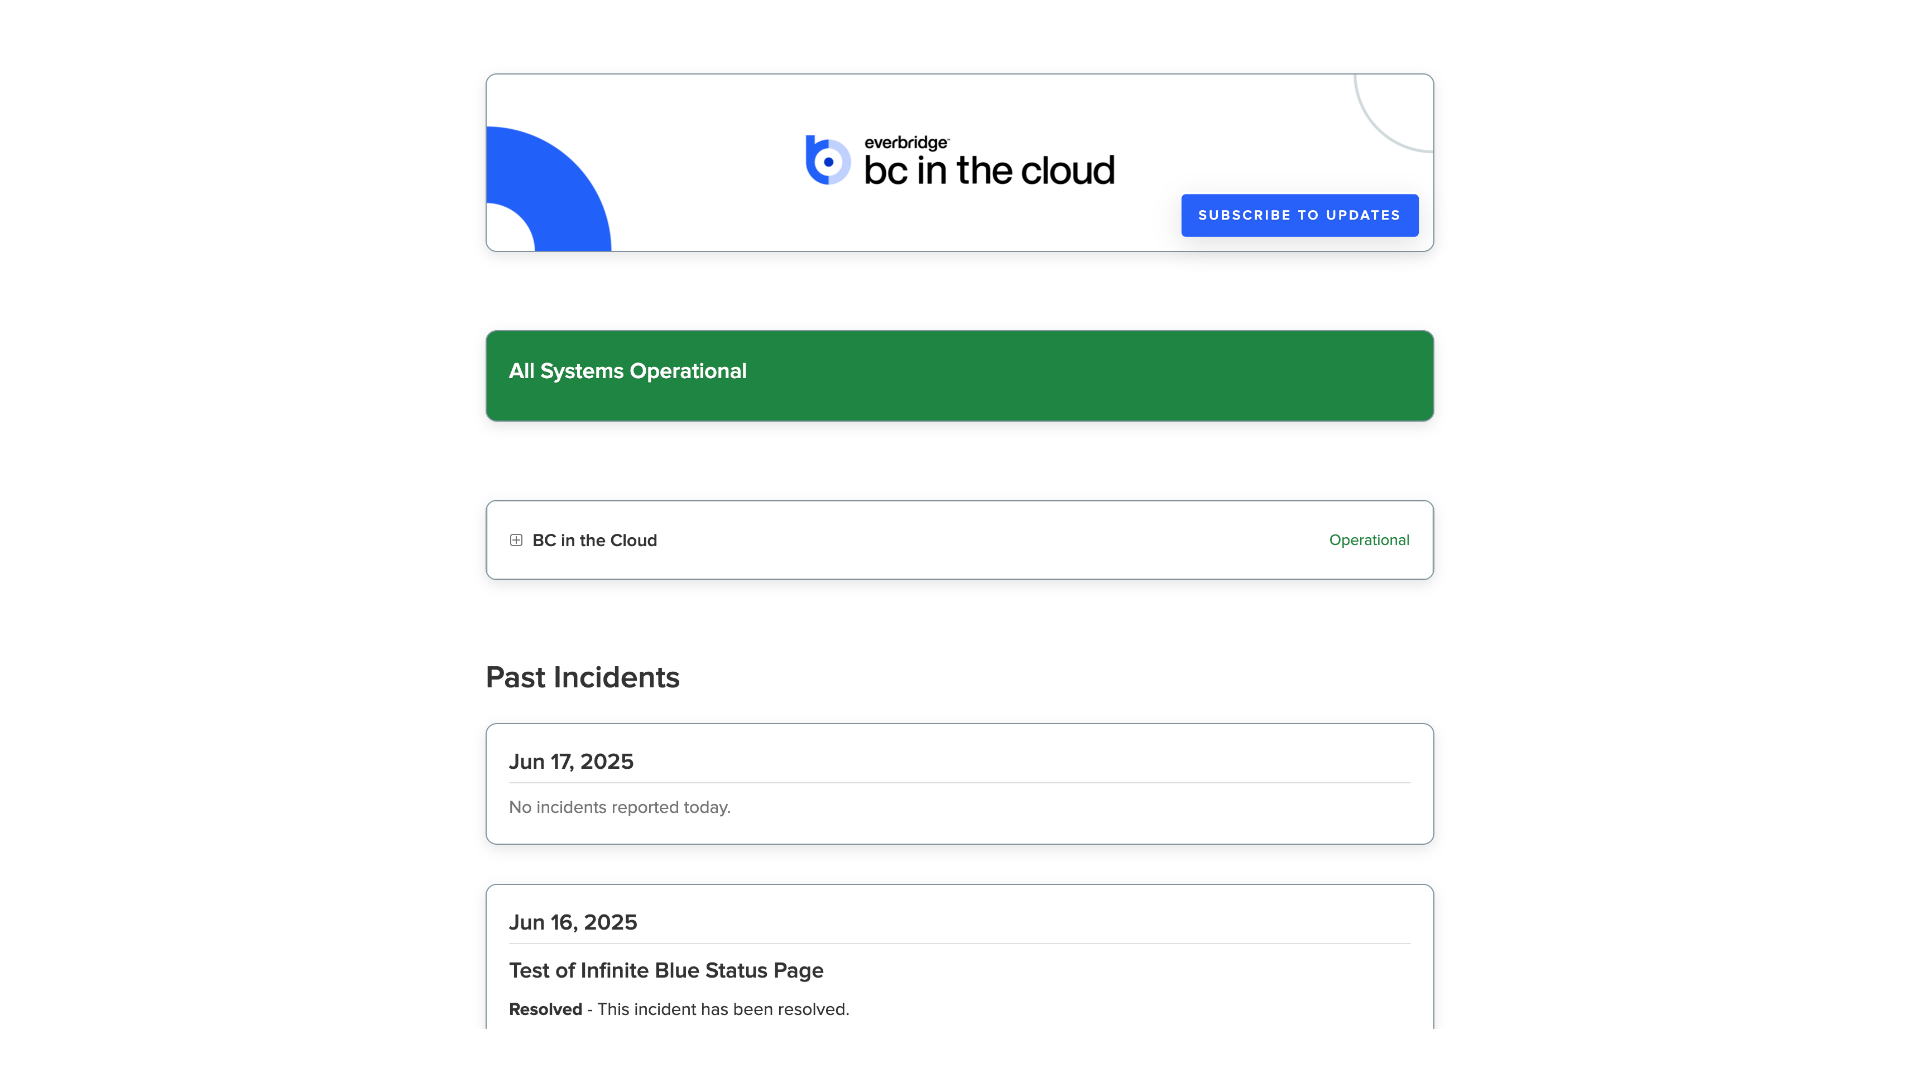
5. Status Page
Now let's guide you through the process of subscribing for updates.

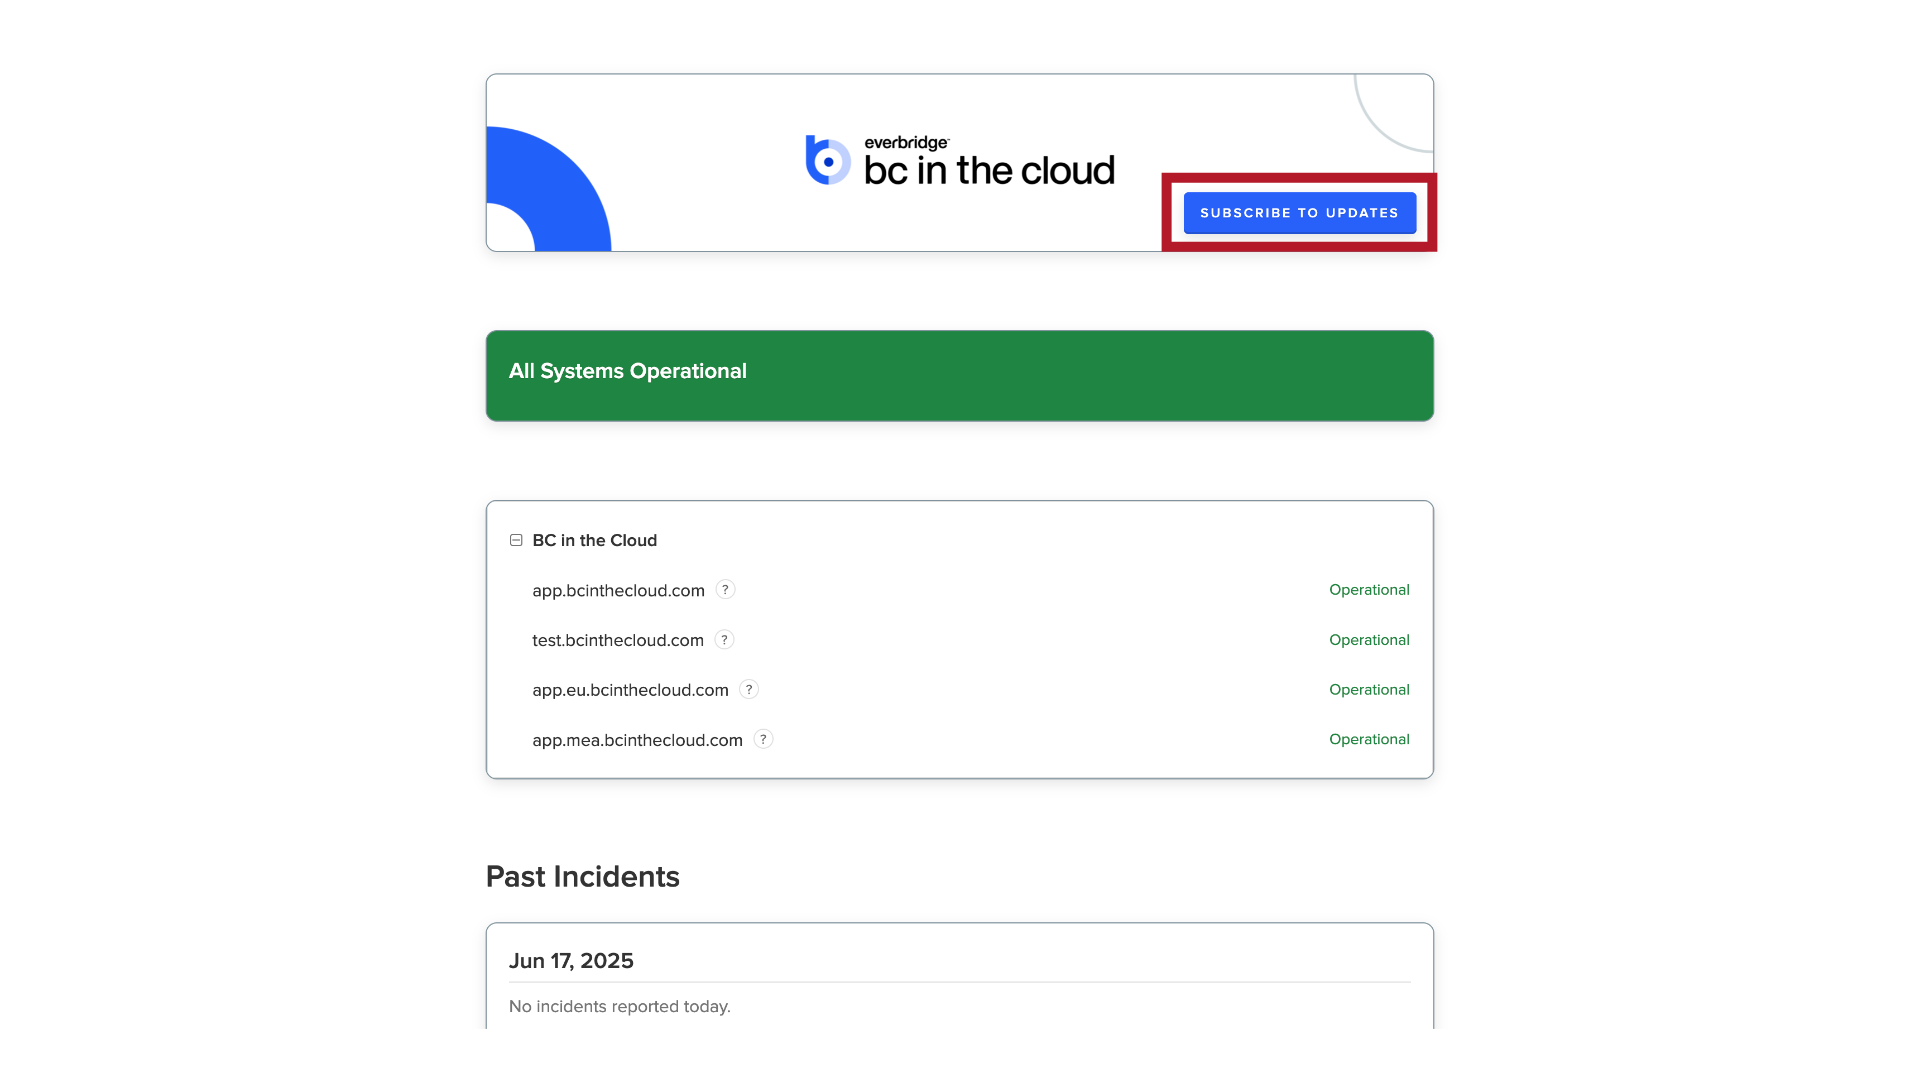
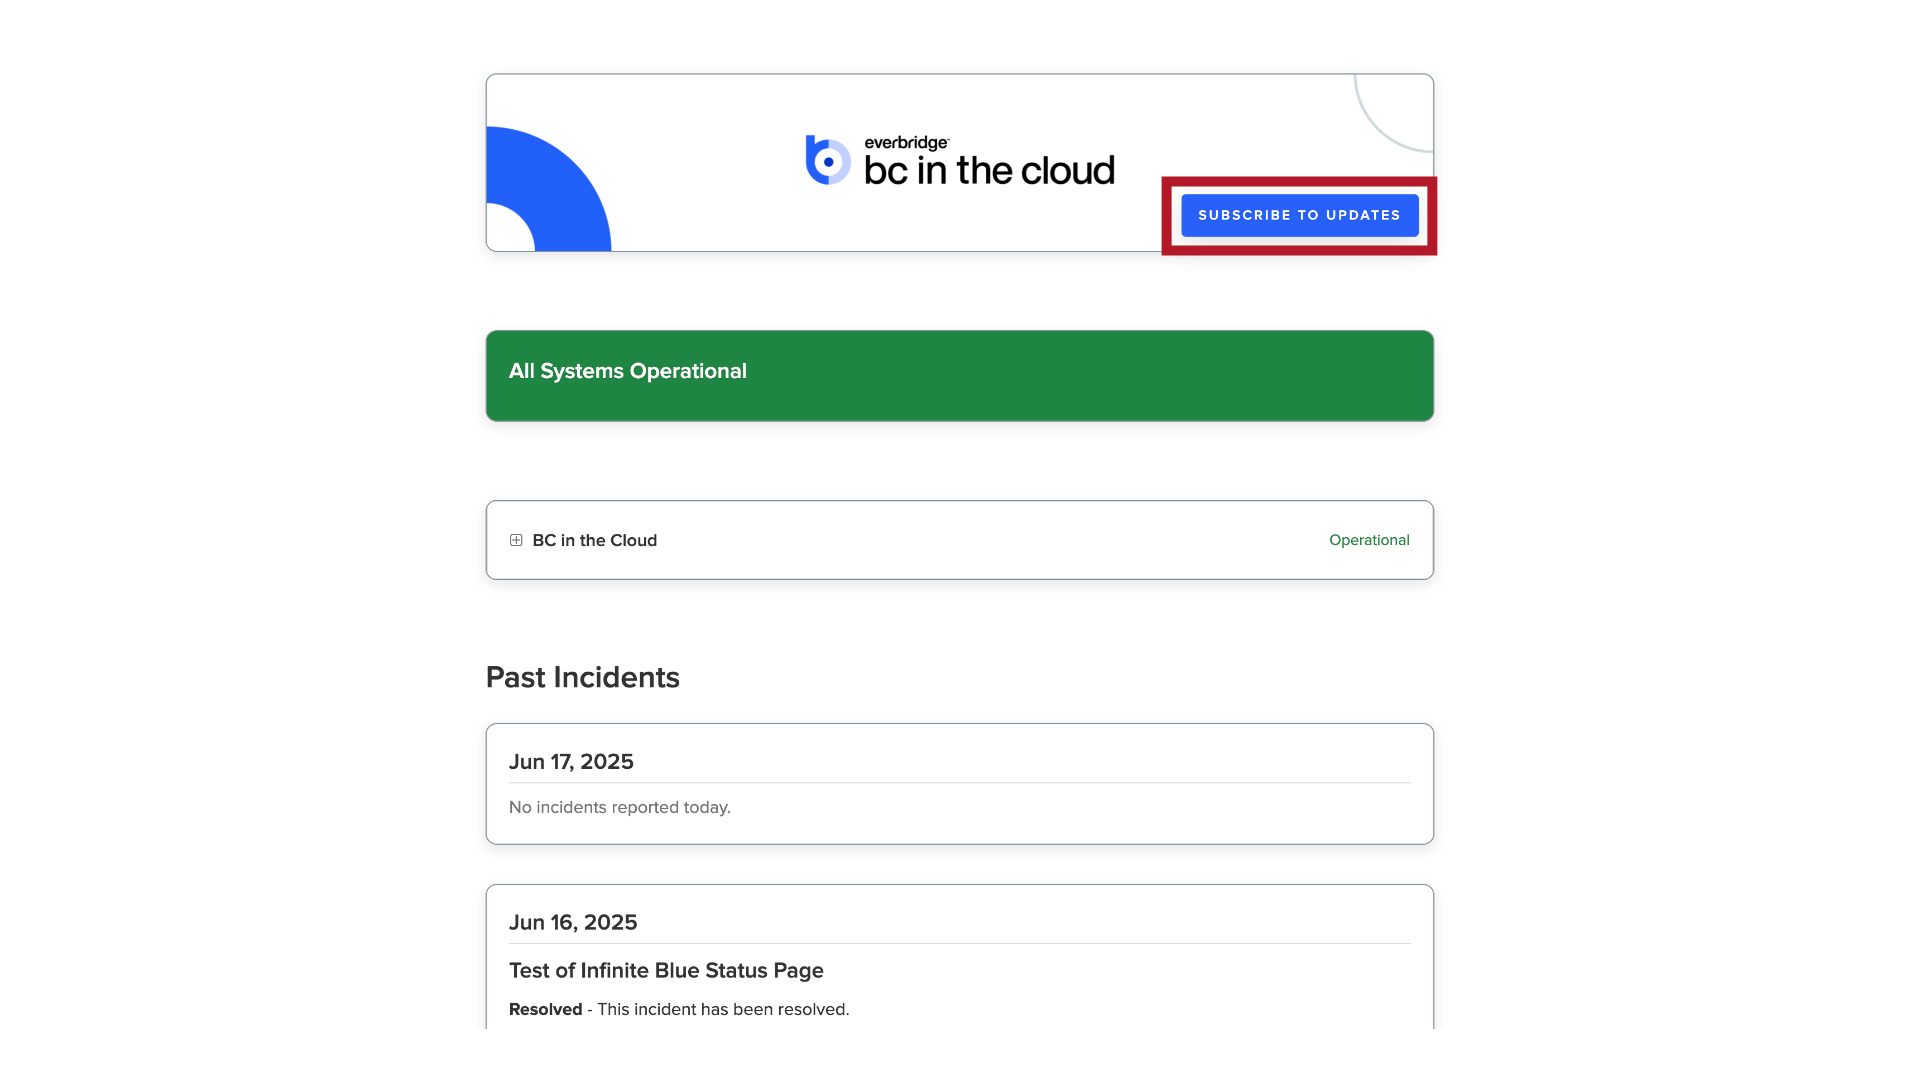
6. Subscribe to Updates
Click the "Subscribe to Updates" button located at the top right corner.
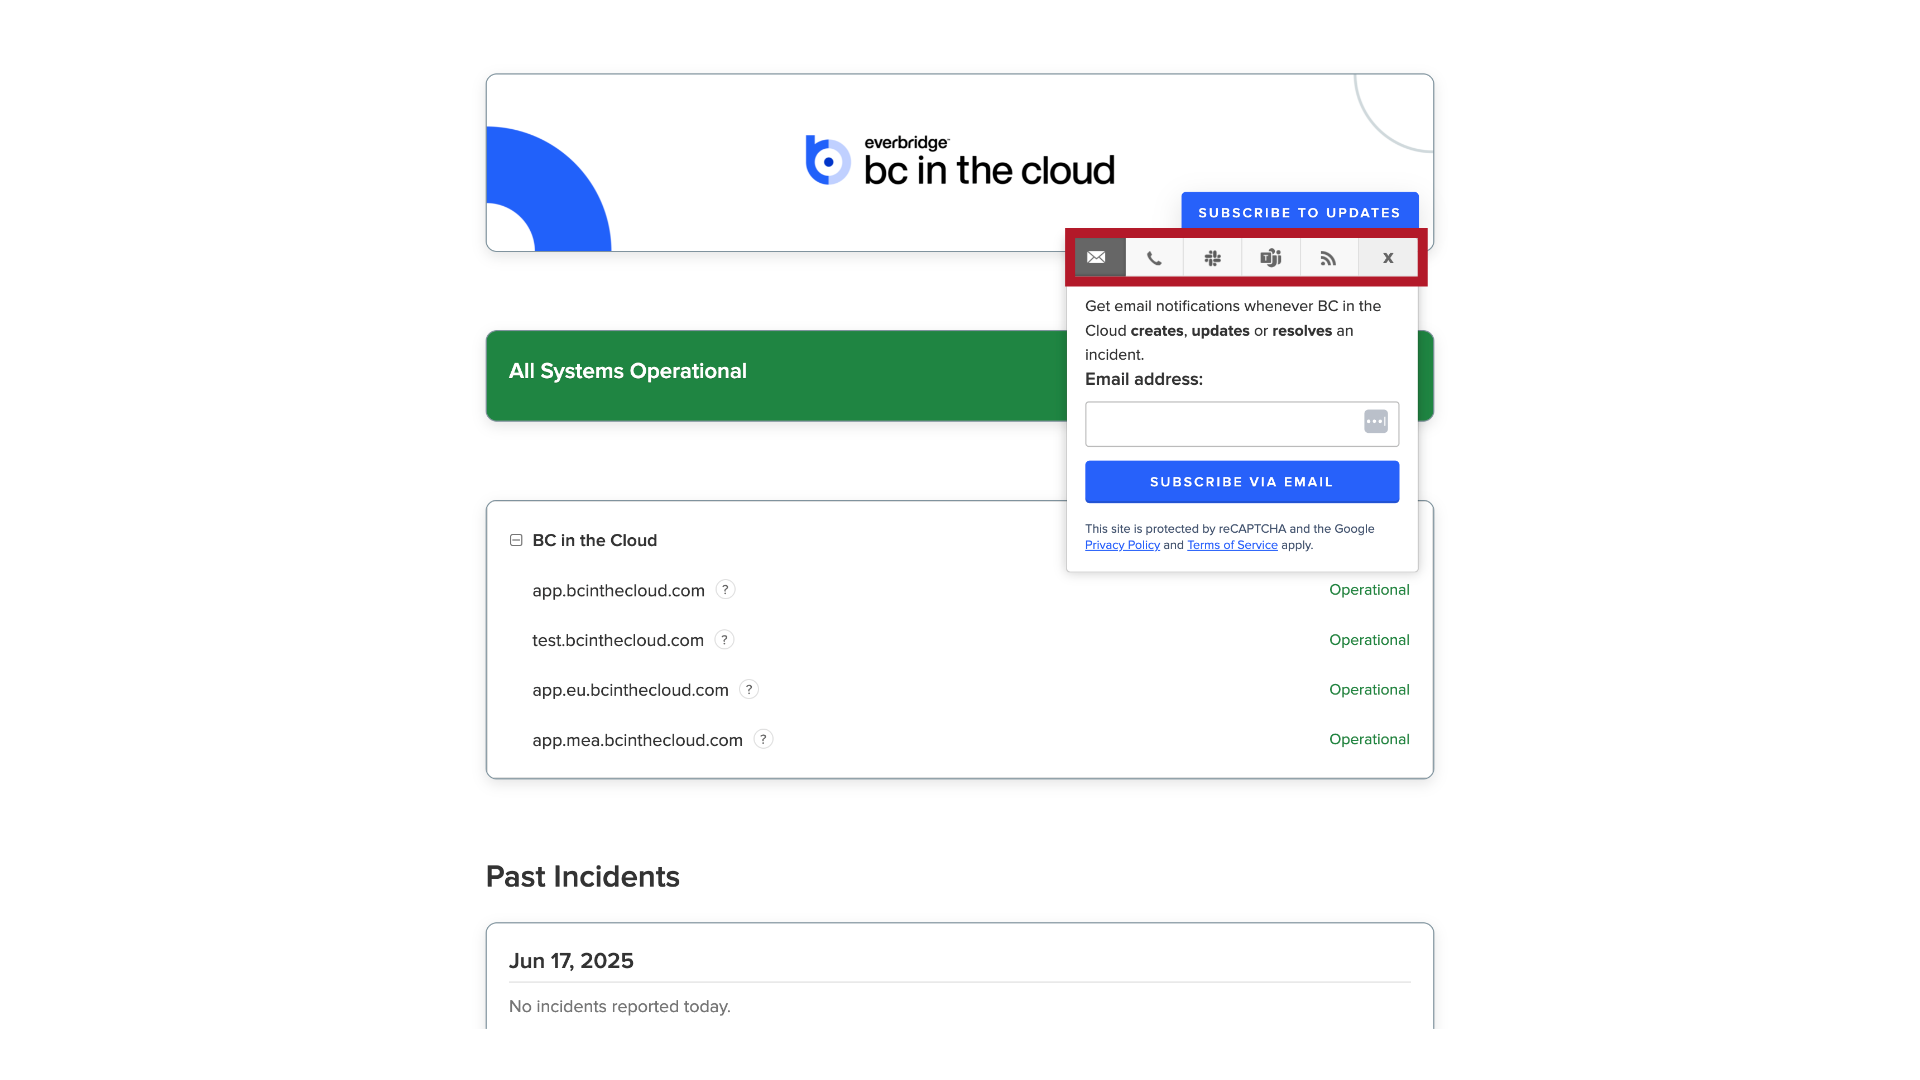
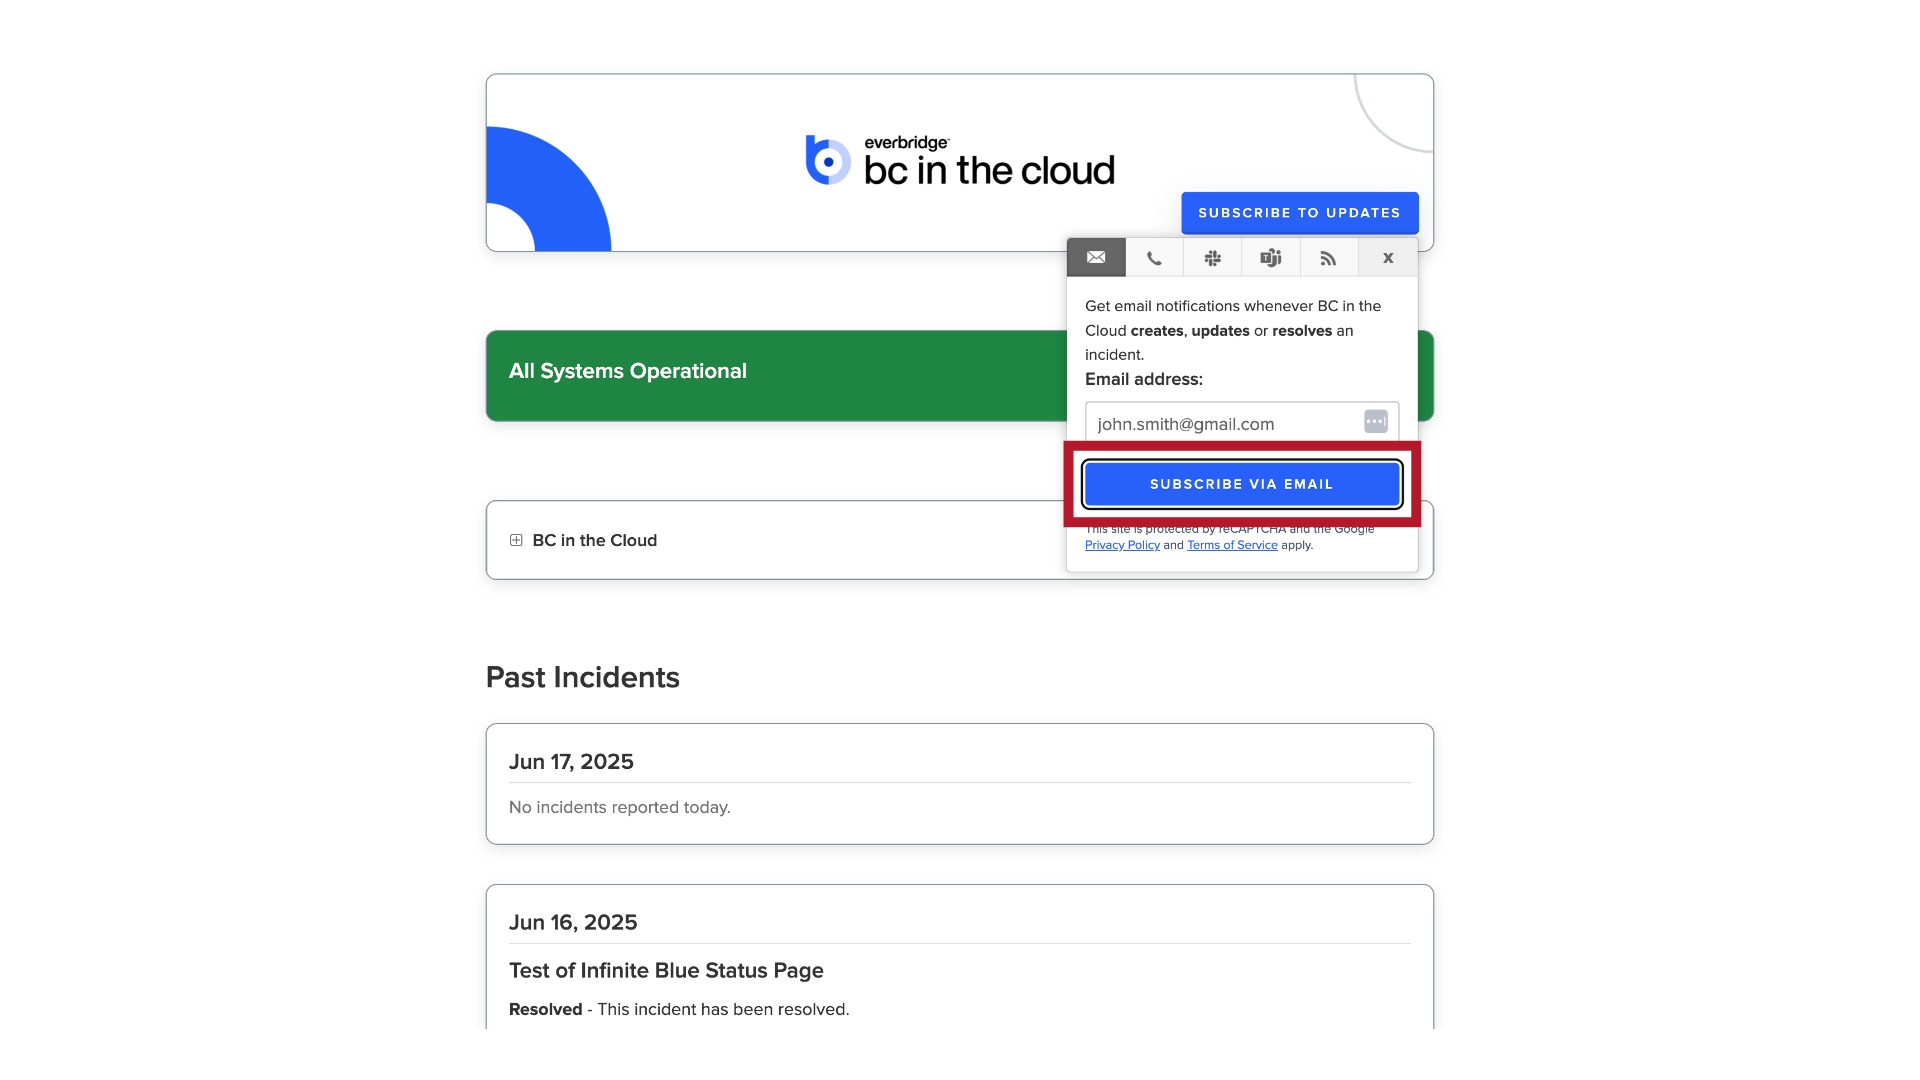
7. Subscription Options
You'll find a range of notification options available, including email, SMS, Slack, Microsoft Teams, and others. For this demonstration, we'll select email.
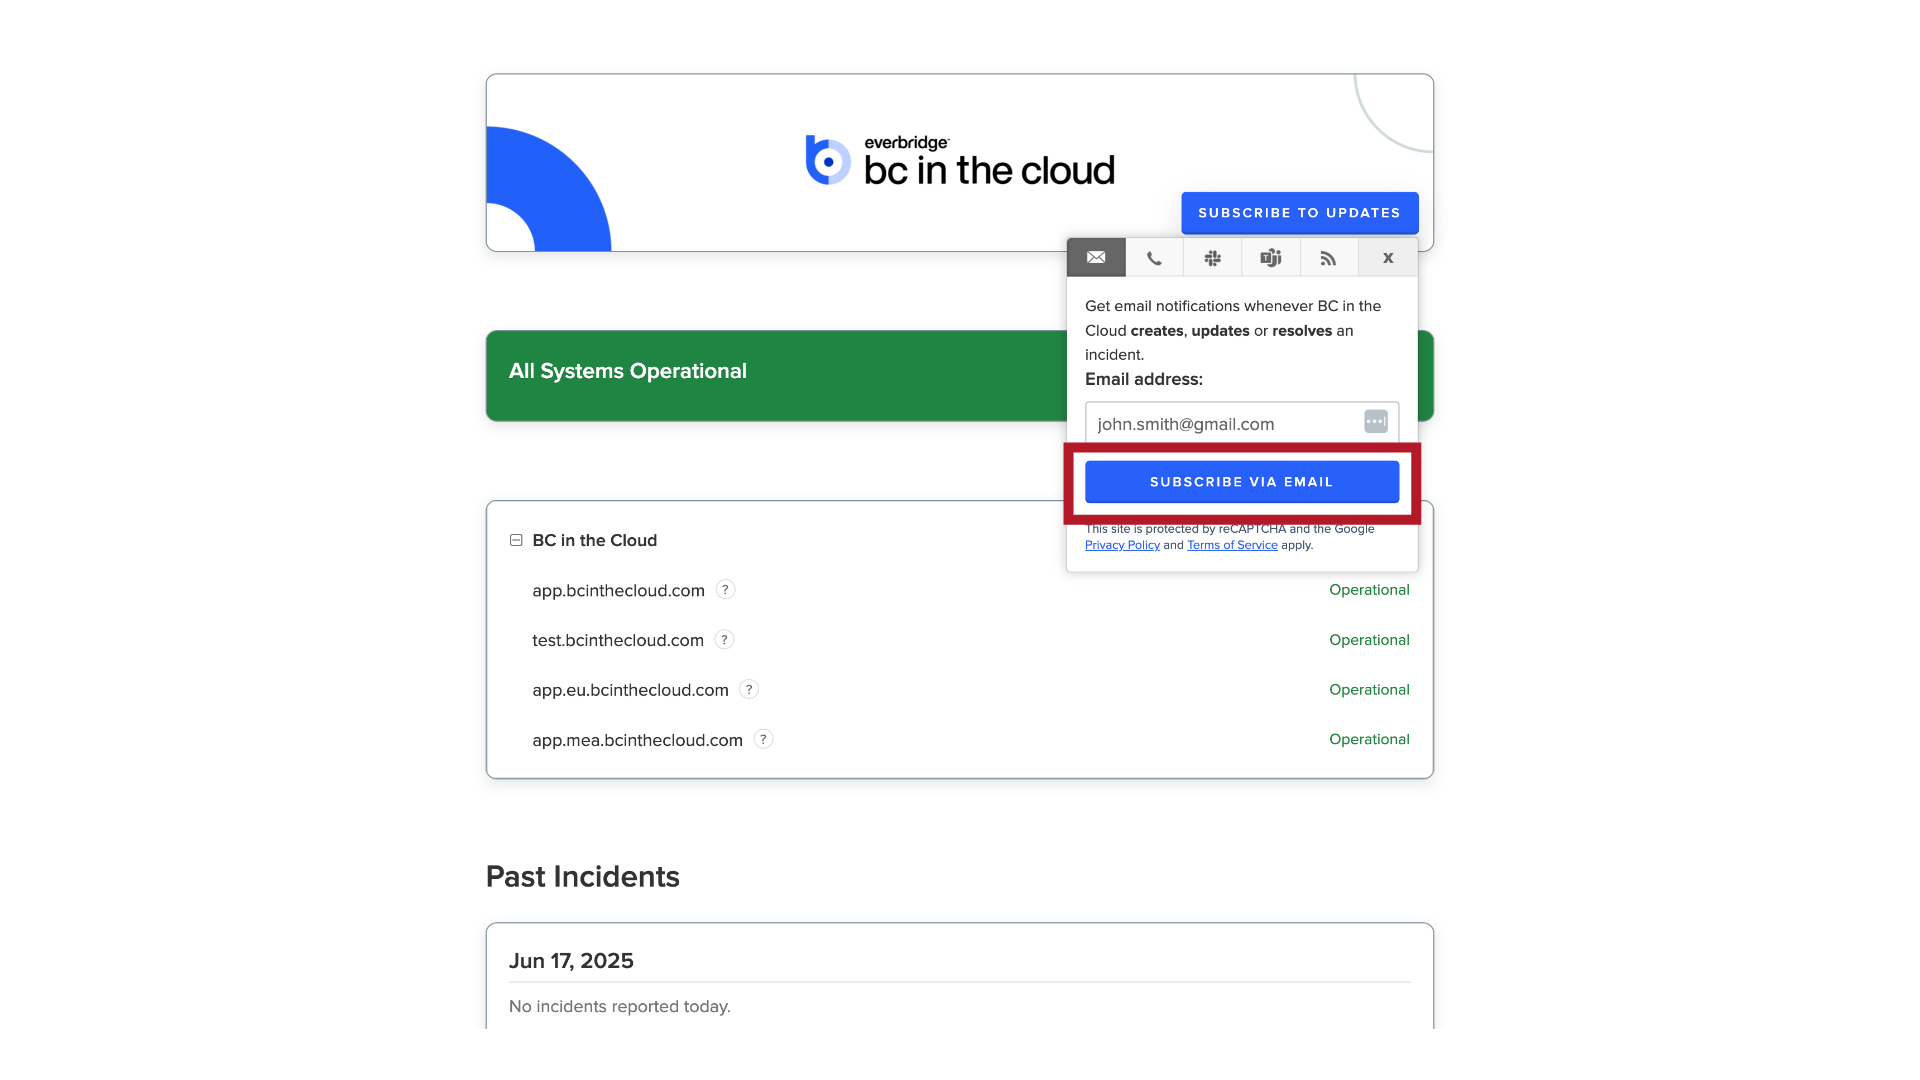
8. Confirm
Please enter your email address in the designated field and click on 'Subscribe via Email.'
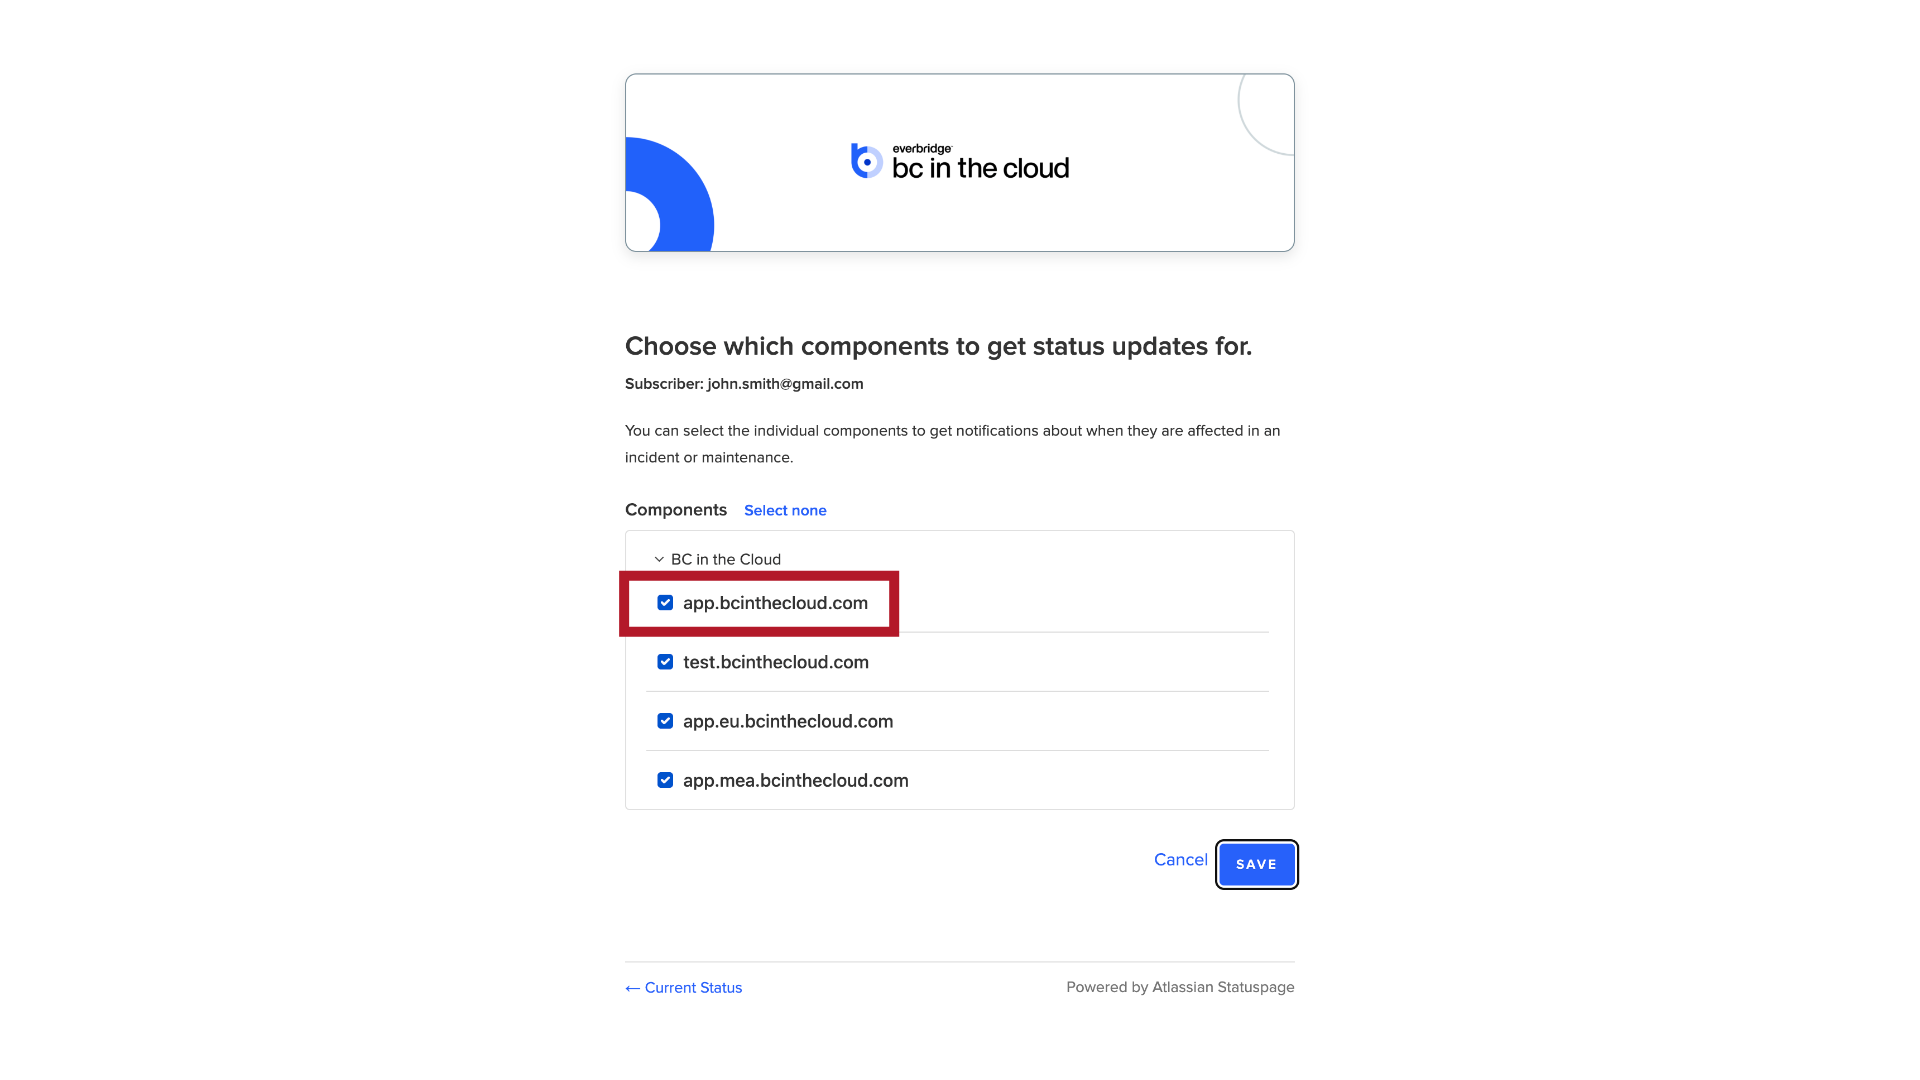
9. Components
Next, you'll be prompted to select the components for which you would like to receive alerts.
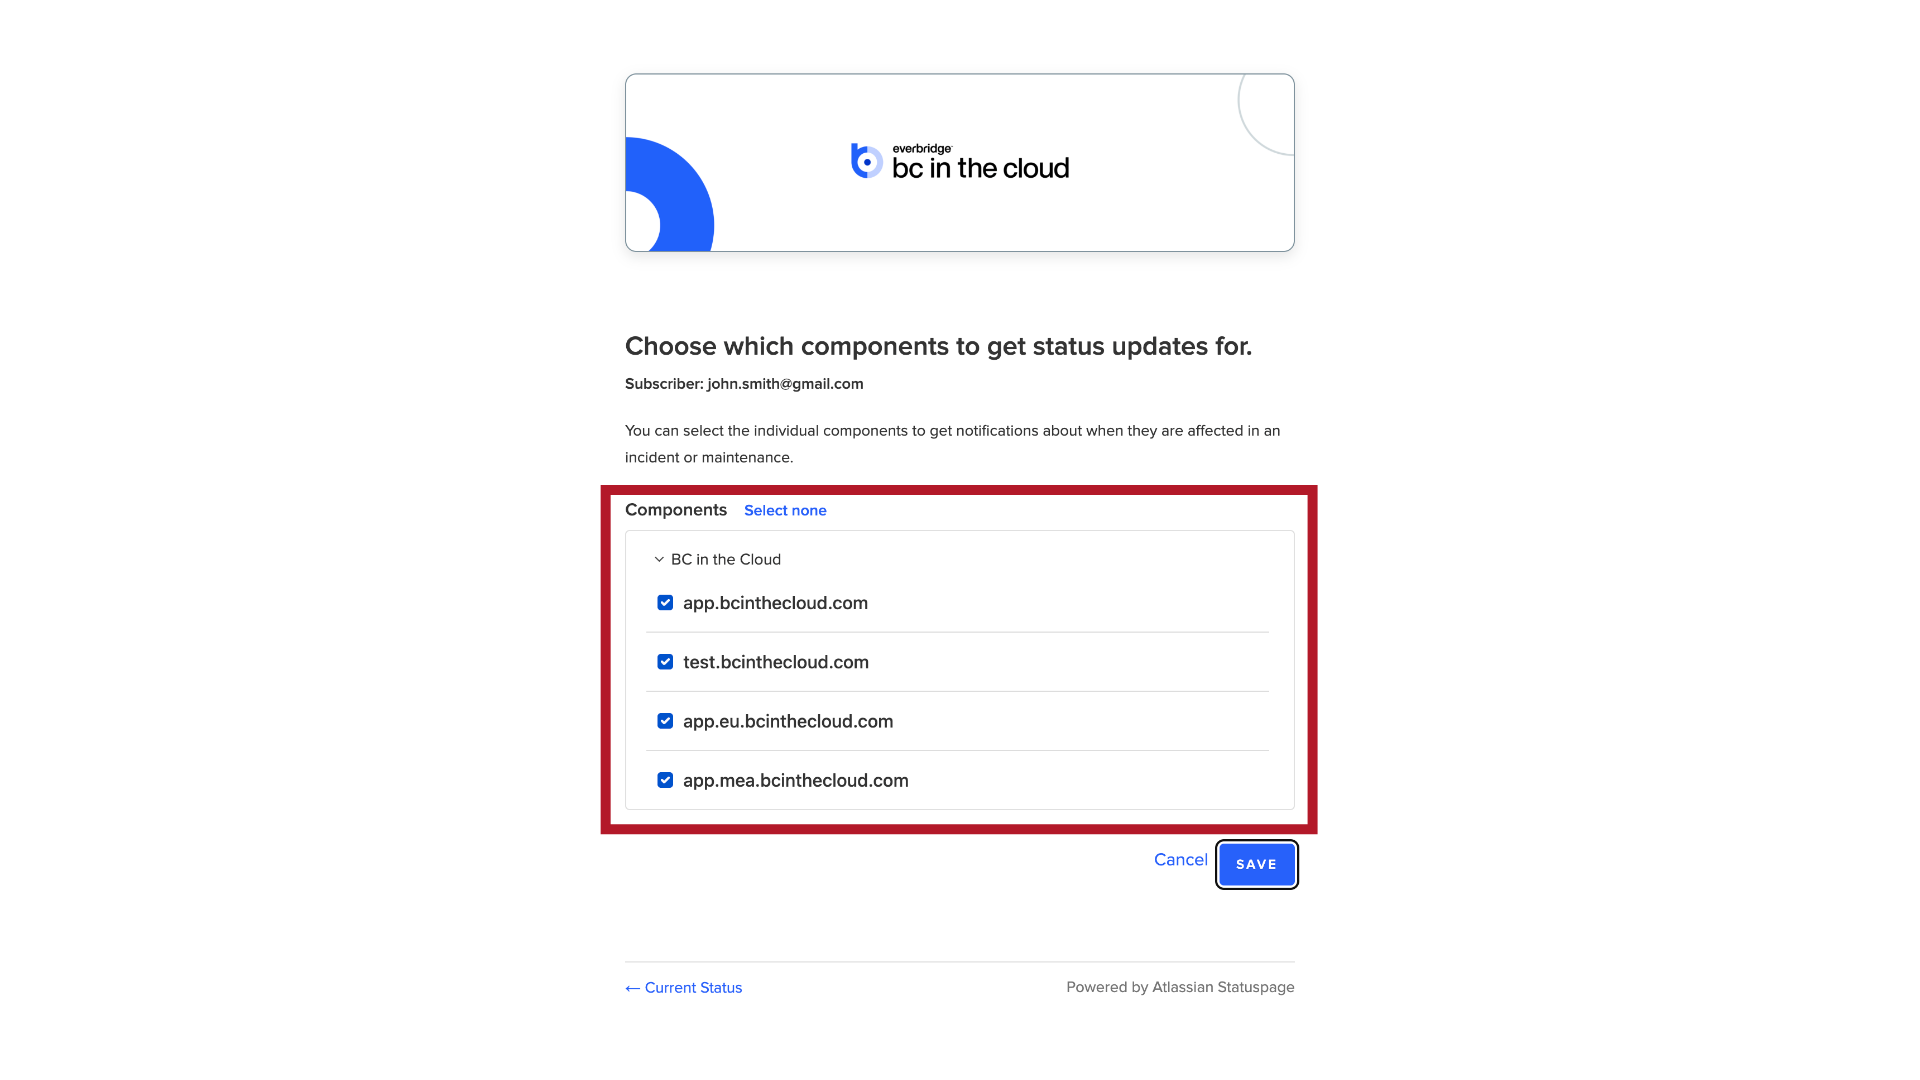
10. Default Selection
By default, all components under "BC in the Cloud" are selected.
11. Default Selection
including app.bcinthecloud.com which covers the North America Production environment.
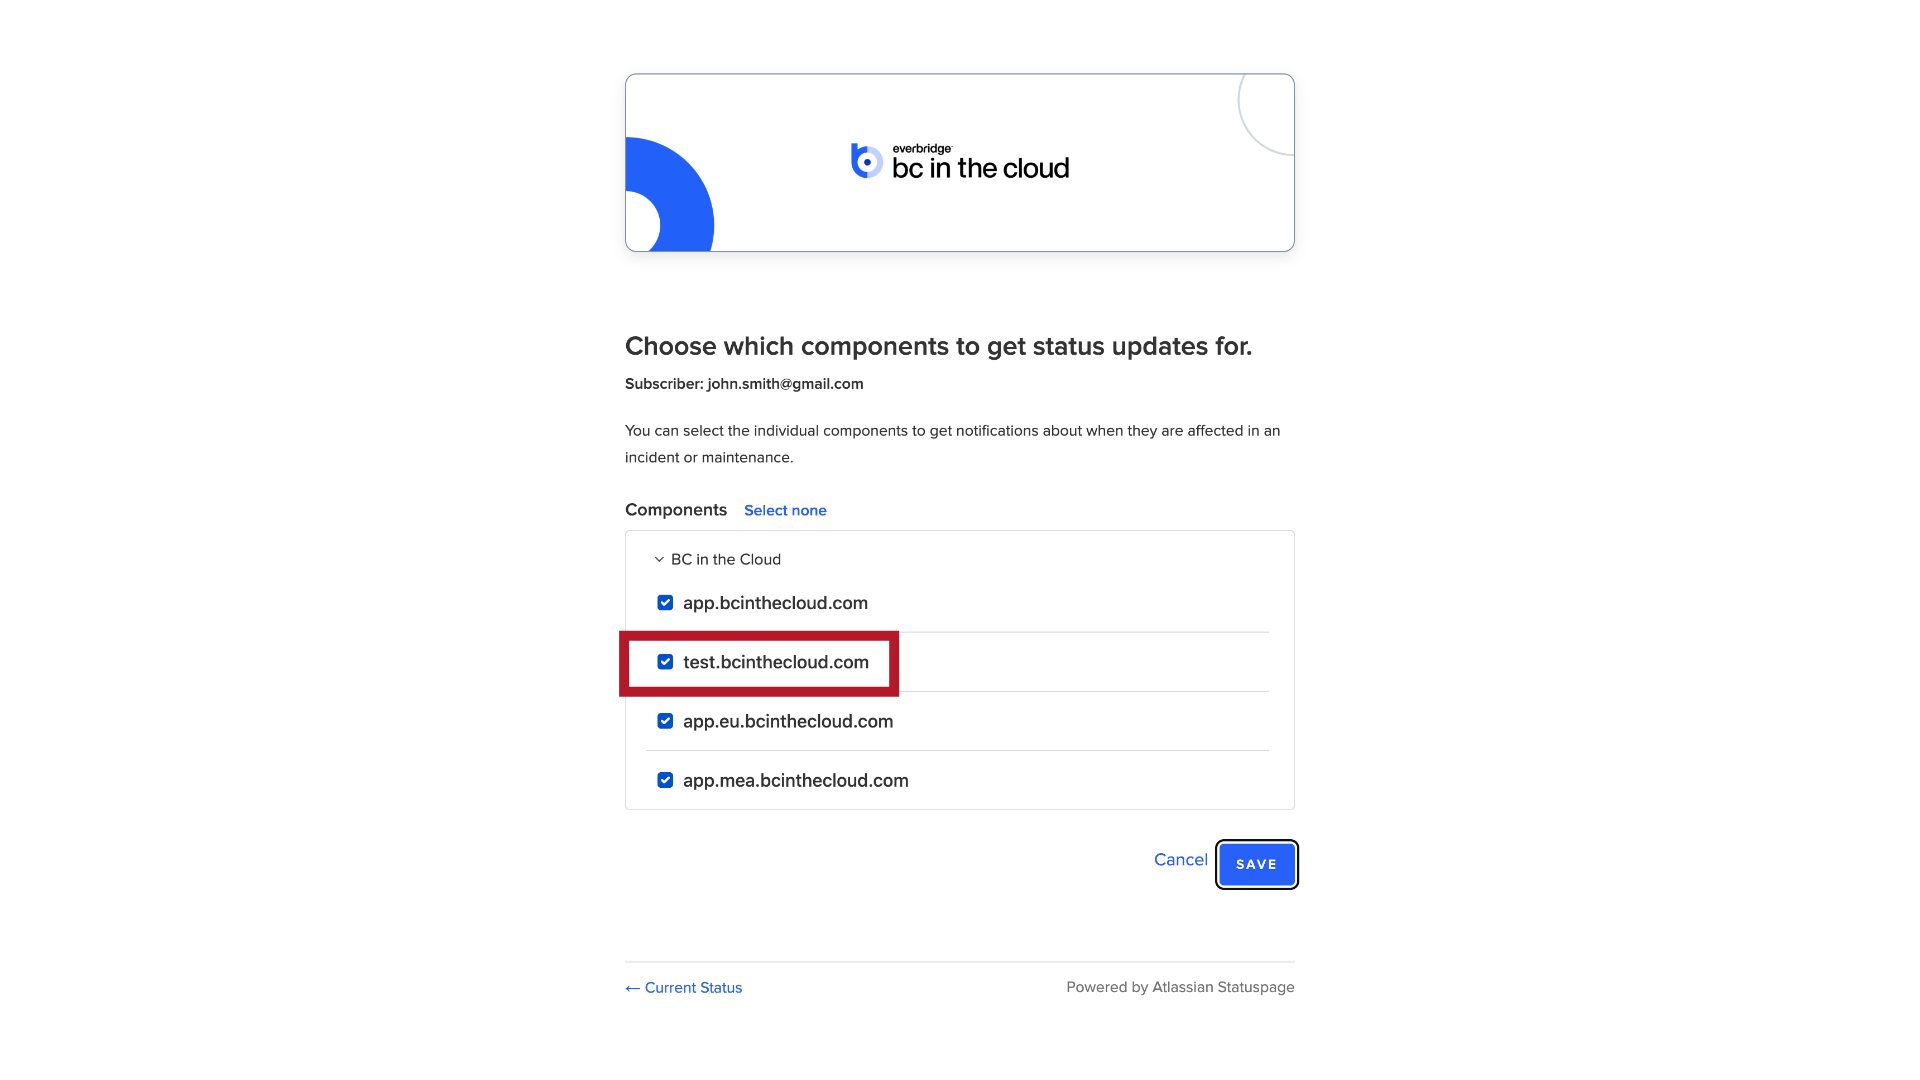
12. Default Selection
test.bcinthecloud.com for the North America Test environment.
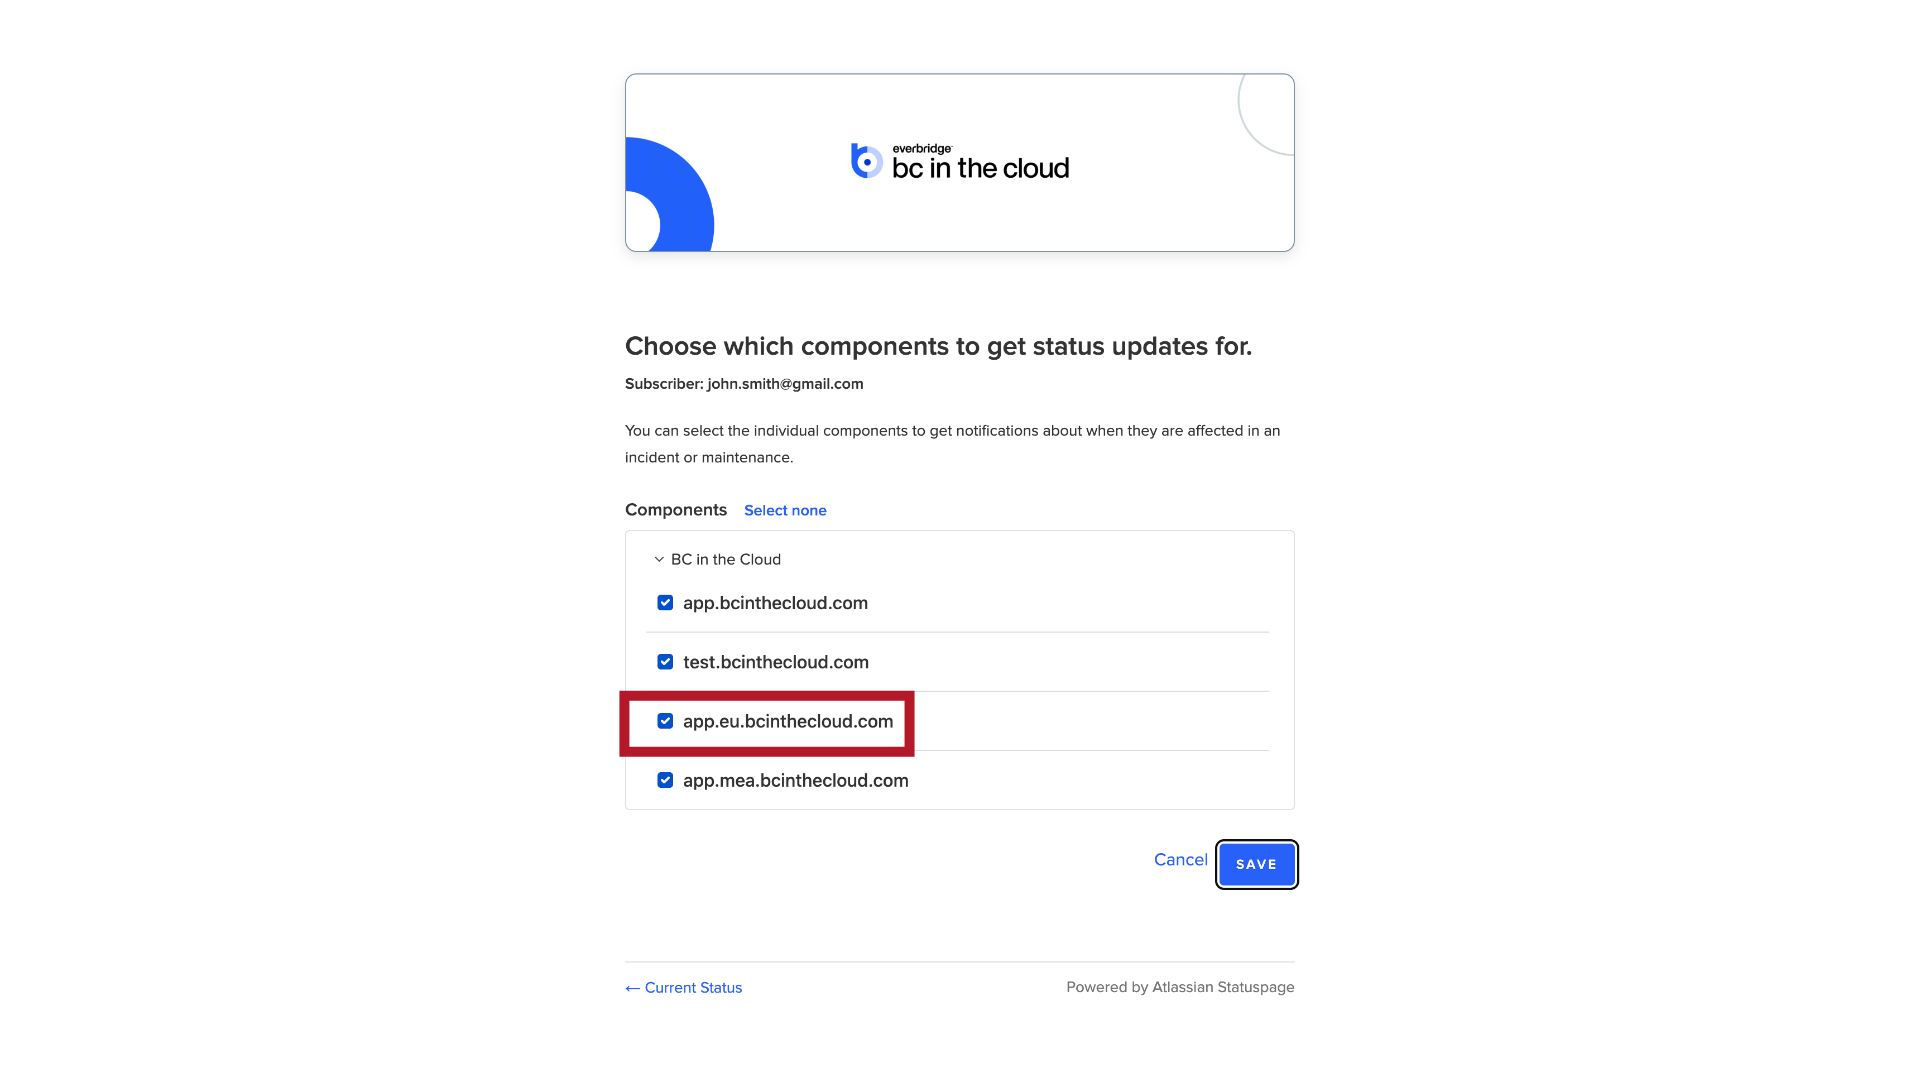
13. Default Selection
app.eu.bcinthecloud.com for the Europe production environment.
14. Default Selection
And app.mea.bcinthecloud.com for the MEA Production environment.
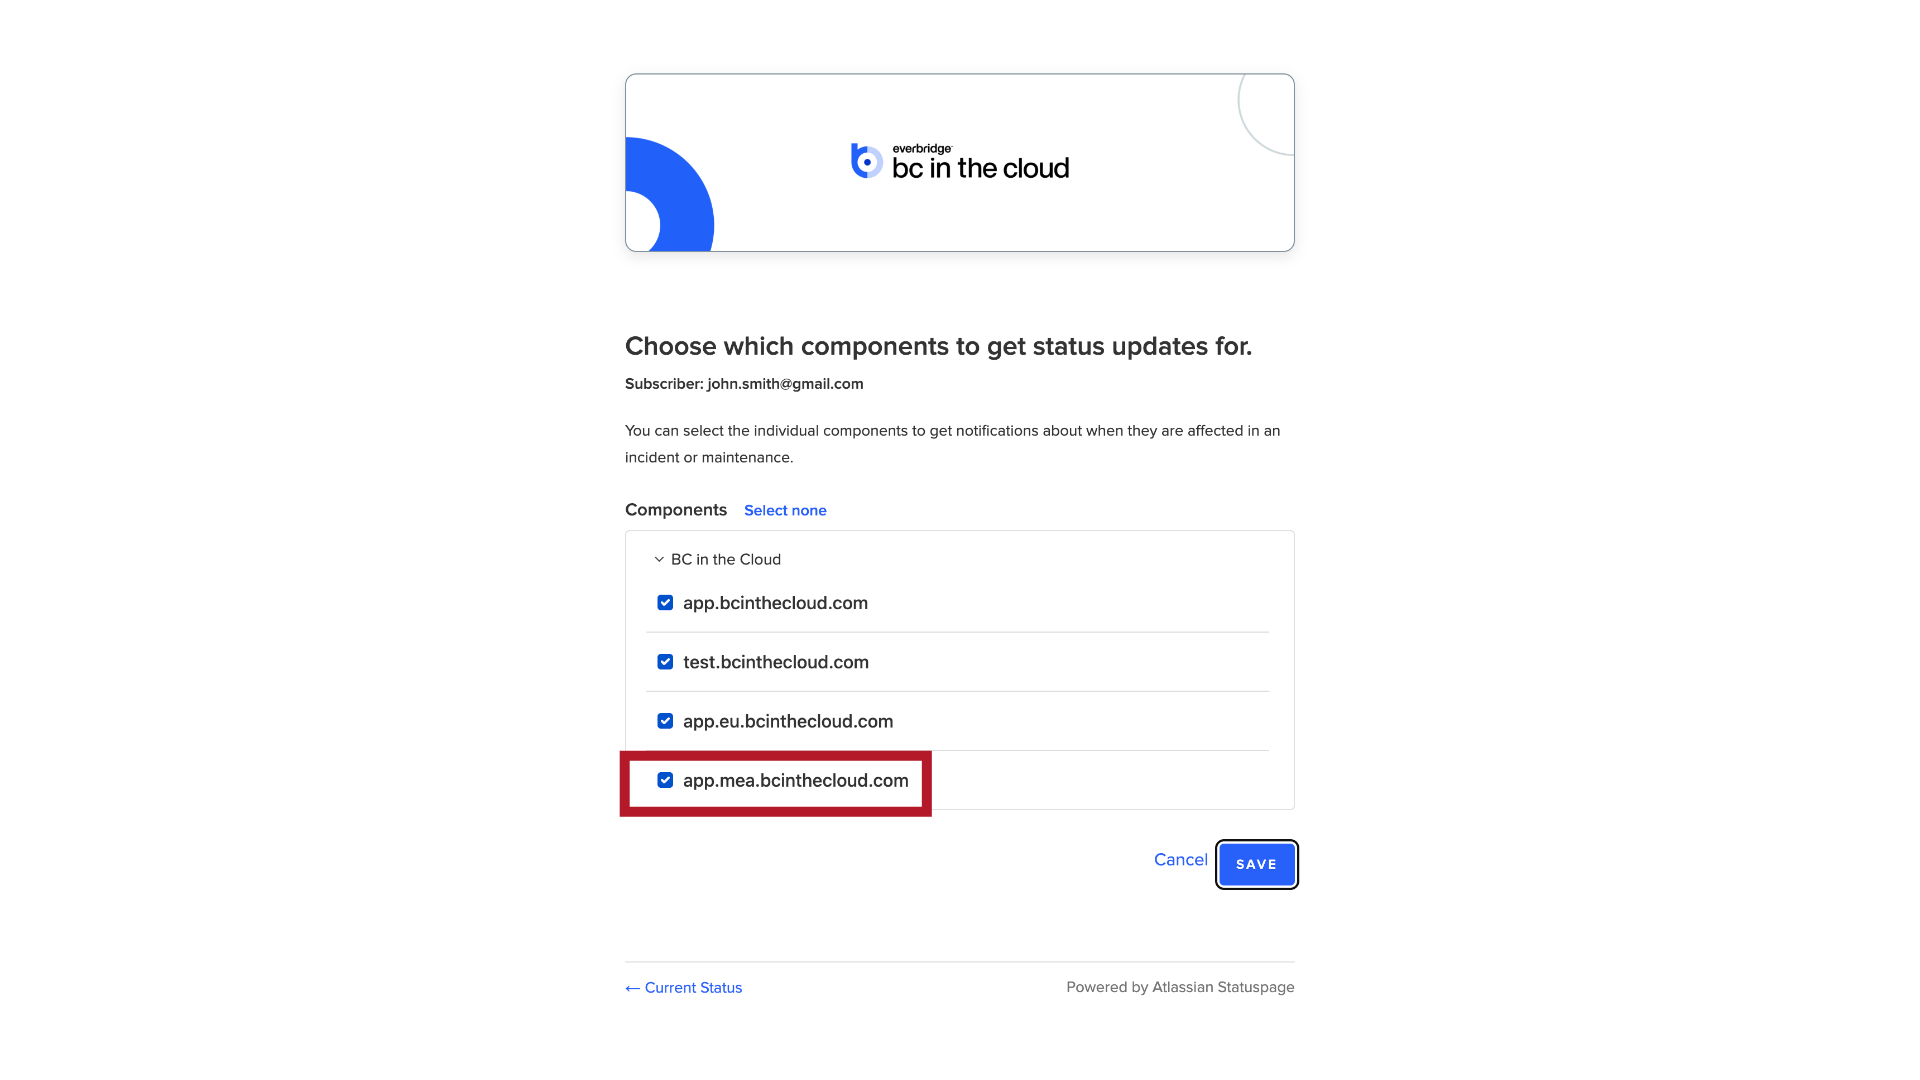
15. Default Selection
These notifications will include scheduled and unscheduled downtime, platform releases, and BCIC Runways releases.

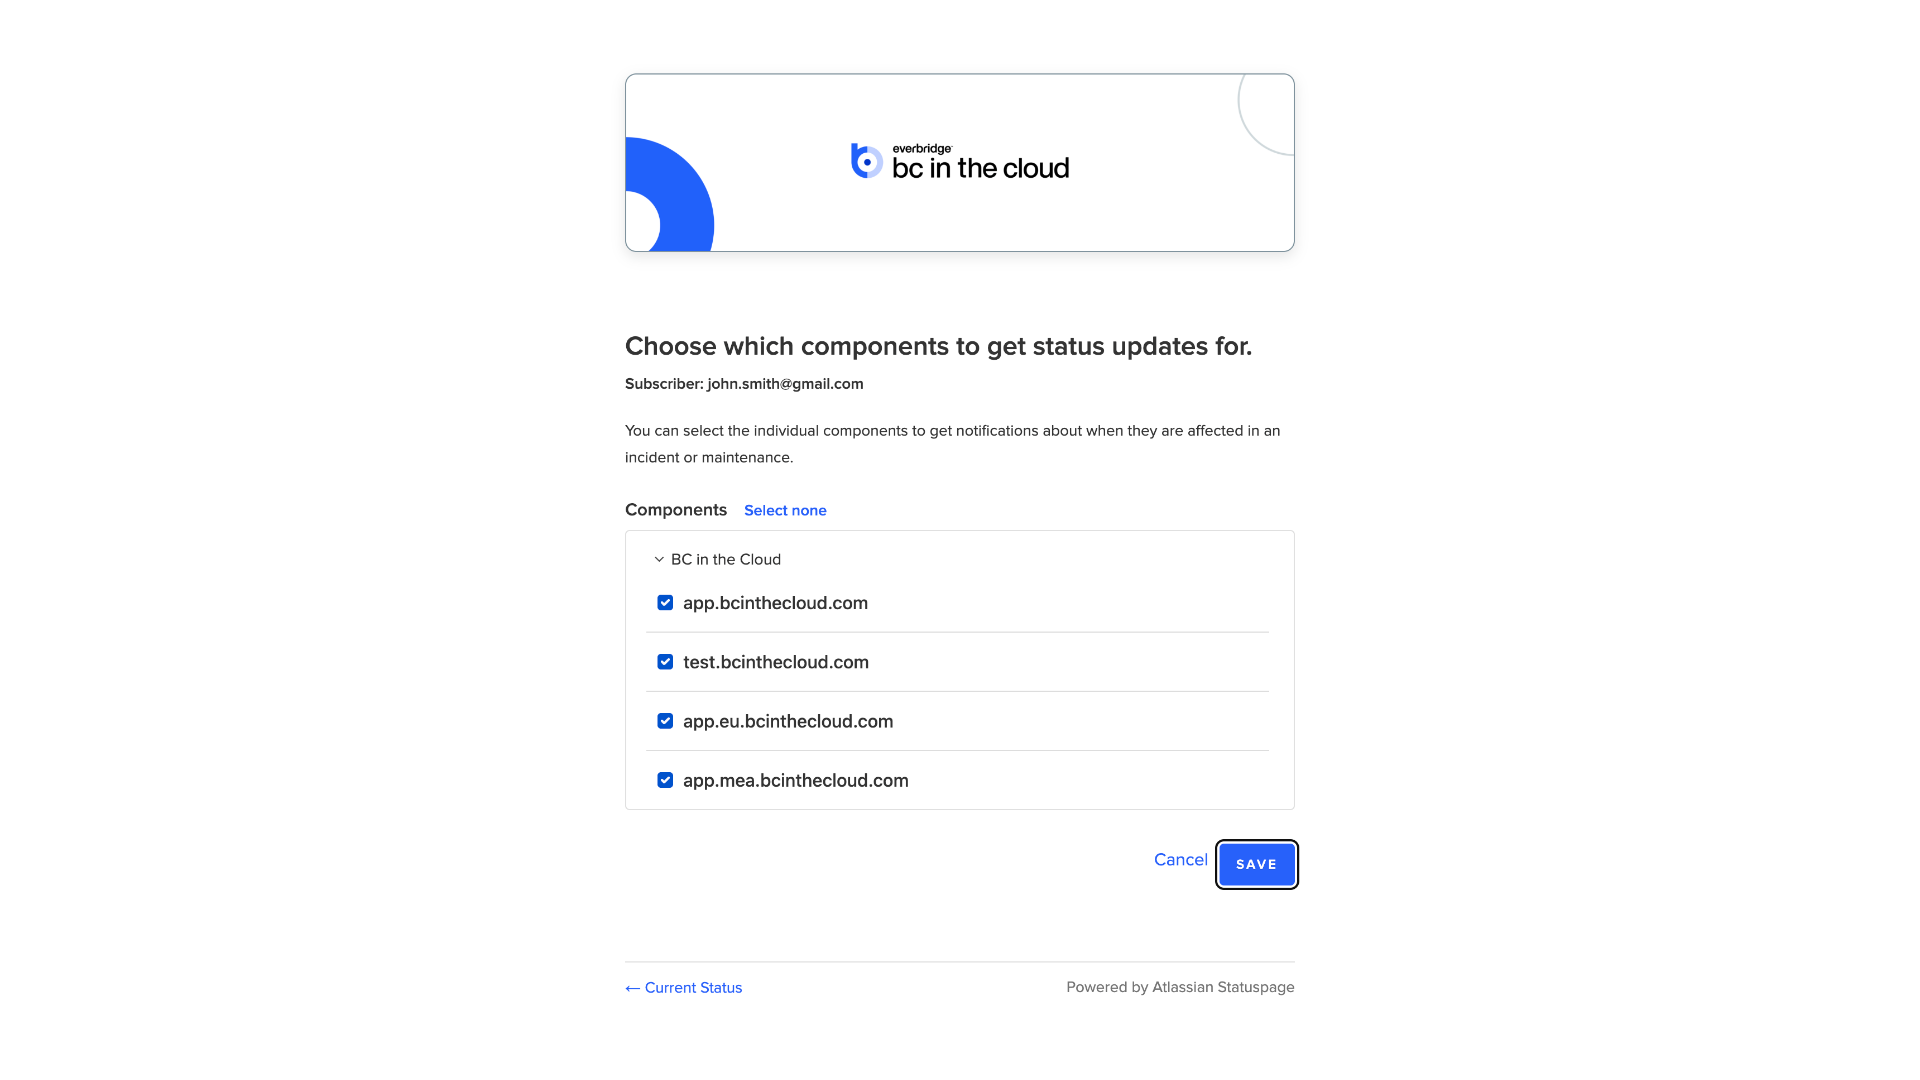
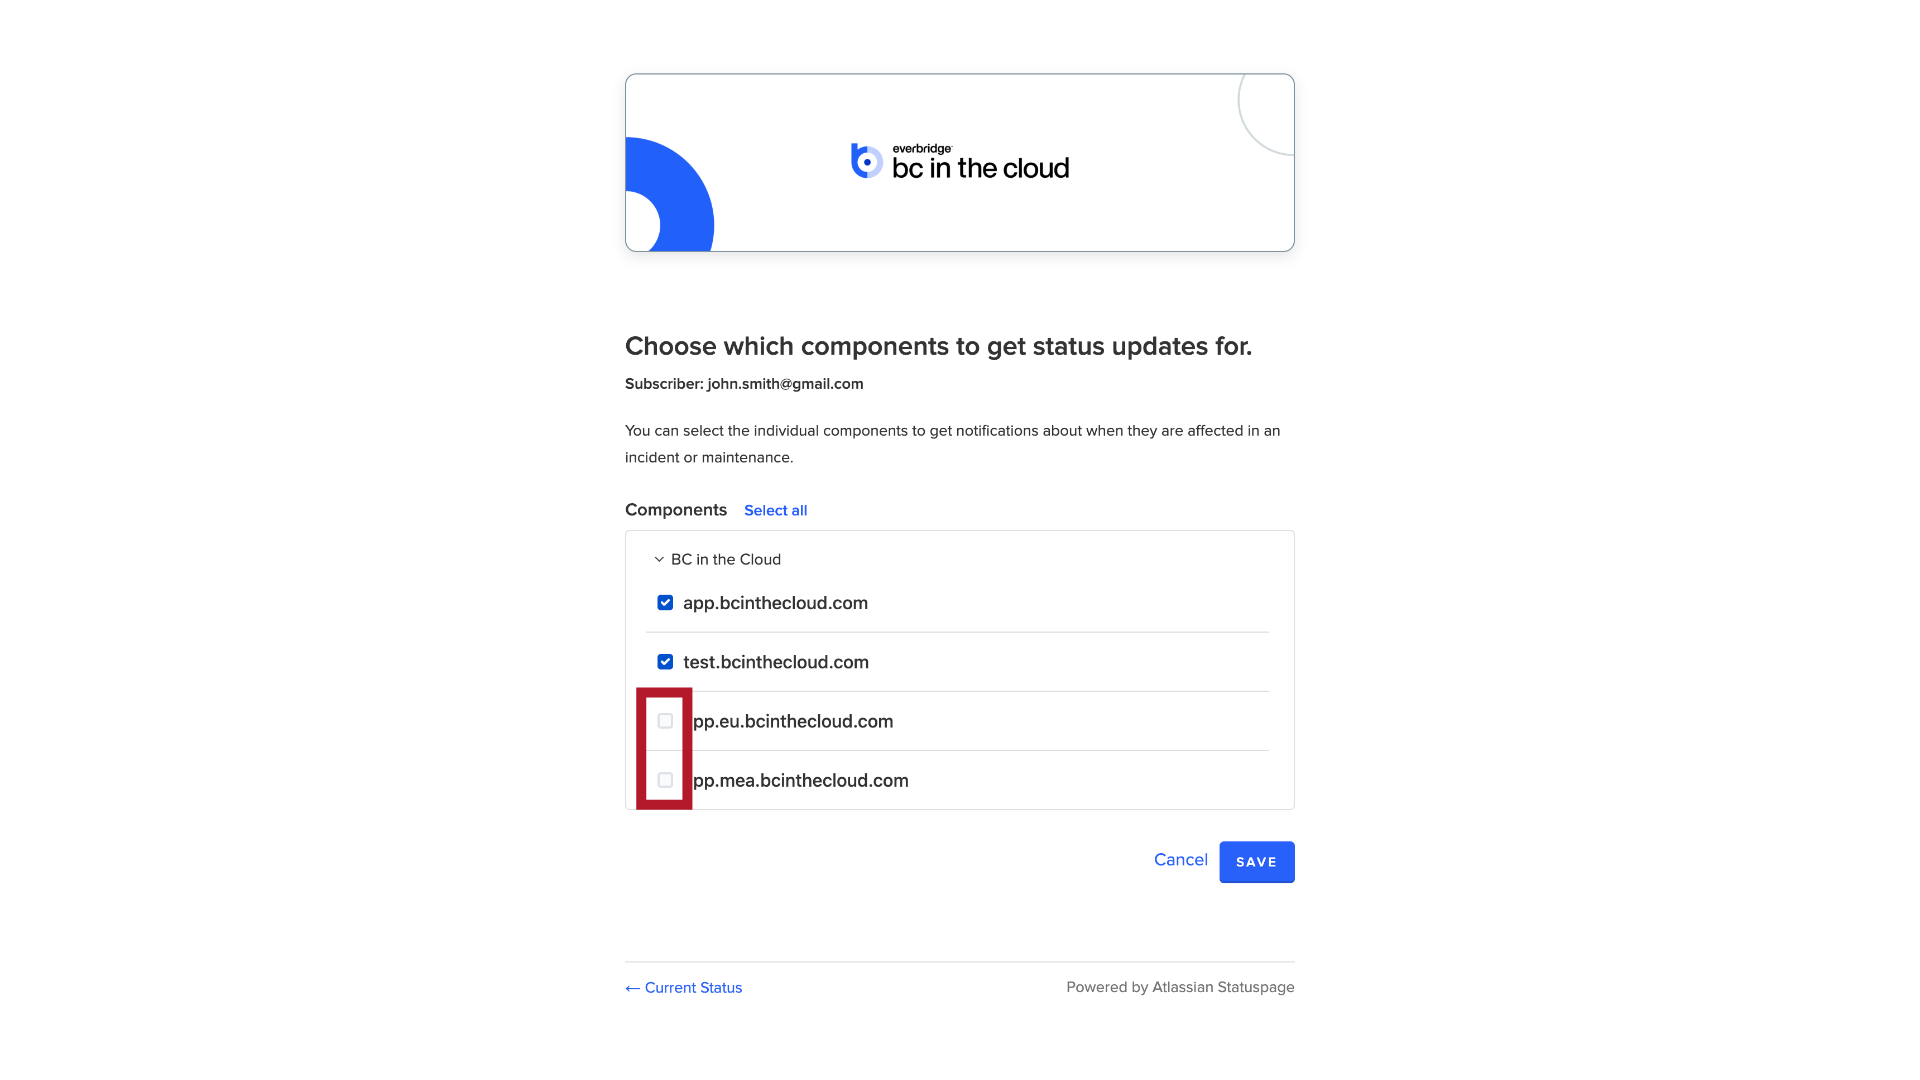
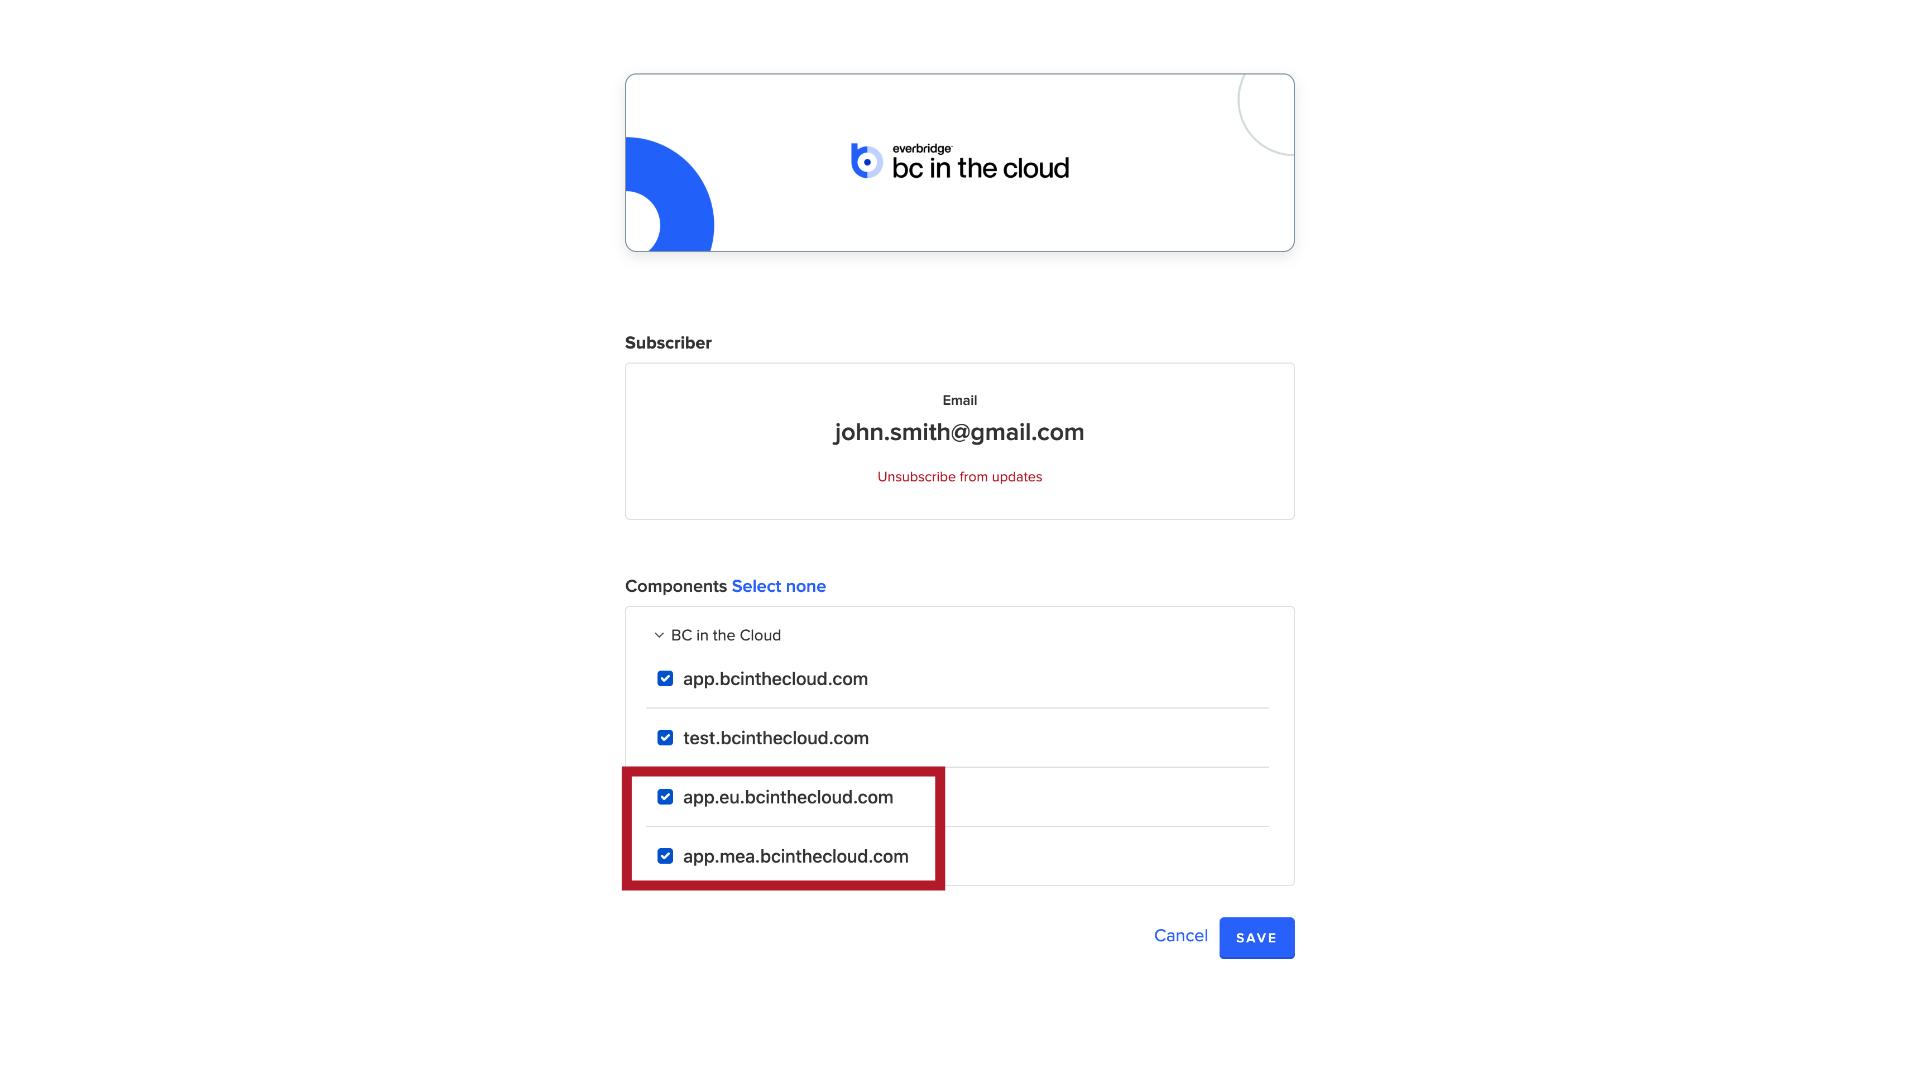
16. Components Selection
If there are specific components for which you do not wish to receive notifications, simply uncheck their corresponding boxes.
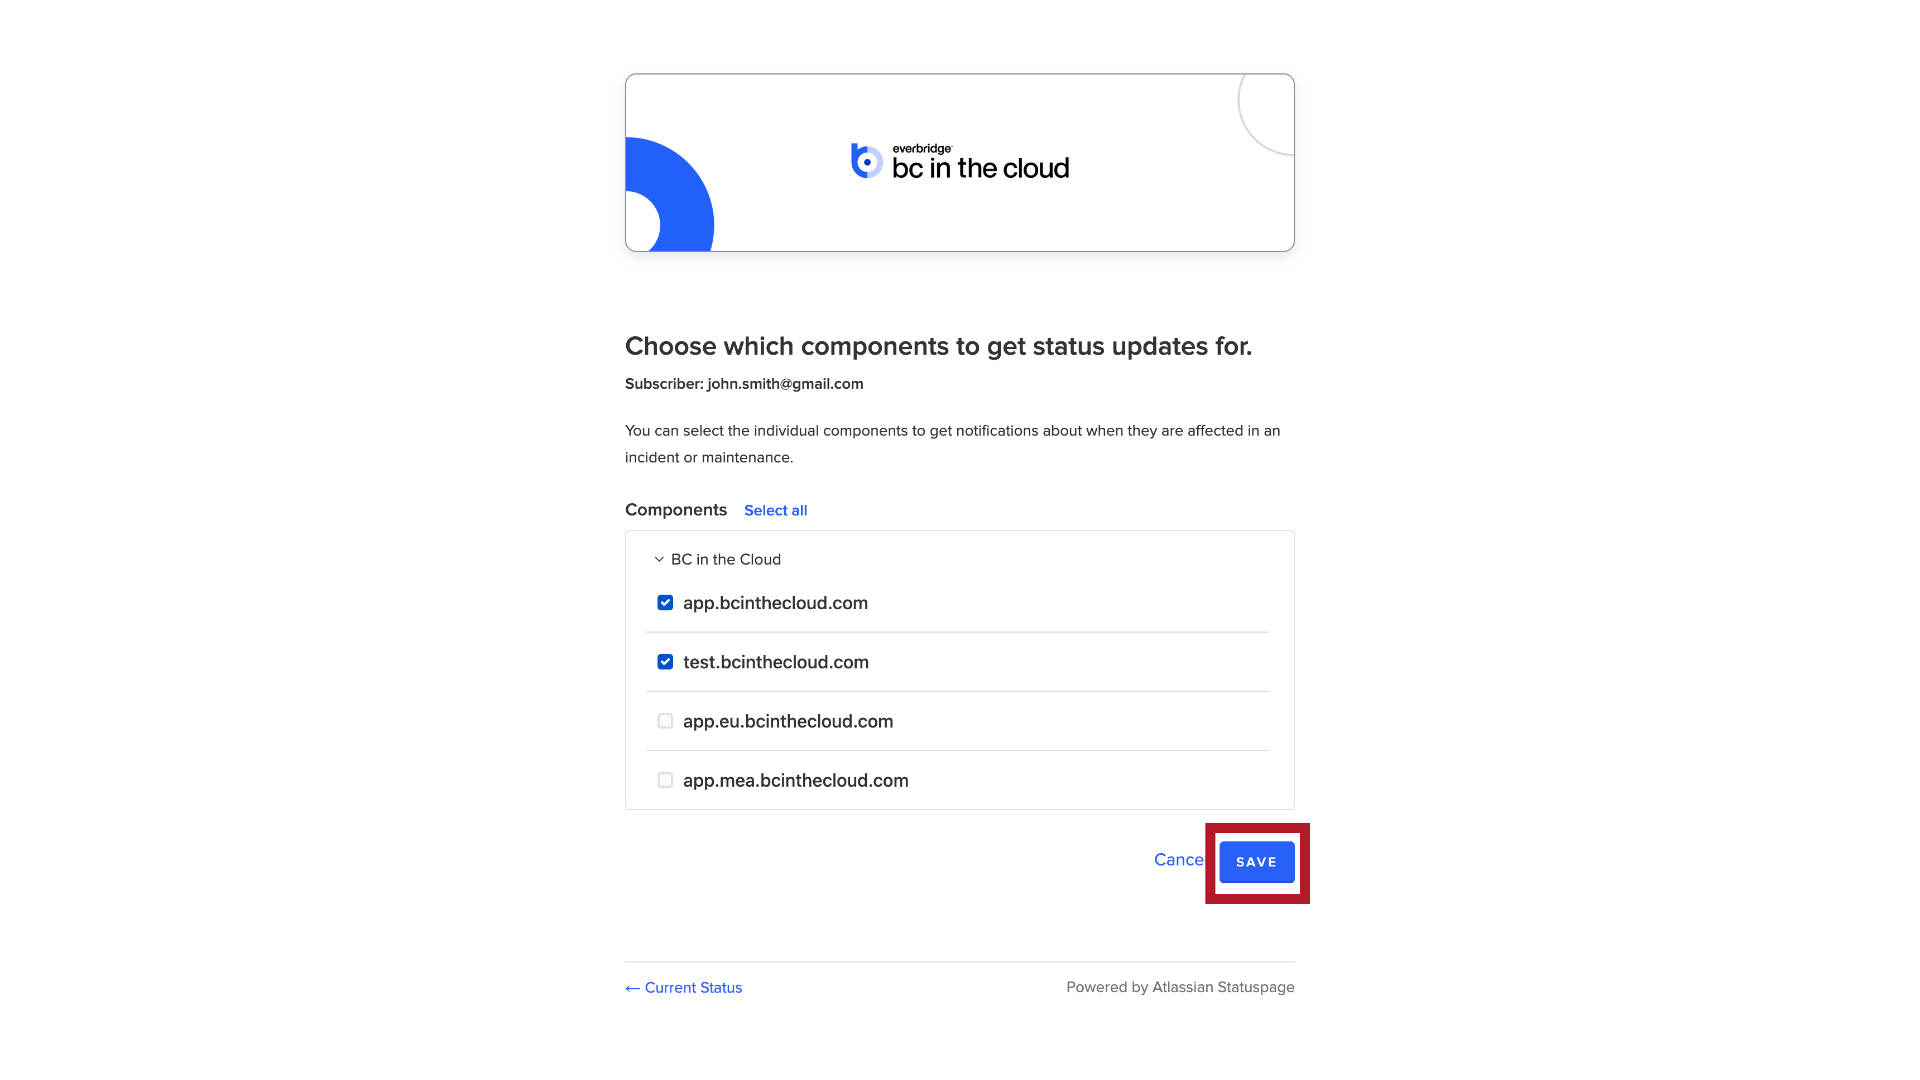
17. Save
After making your selections, click "Save" to apply the changes.
18. Confirmation Email
It's important to note that you need to check your email and confirm your subscription before you'll start receiving notifications.
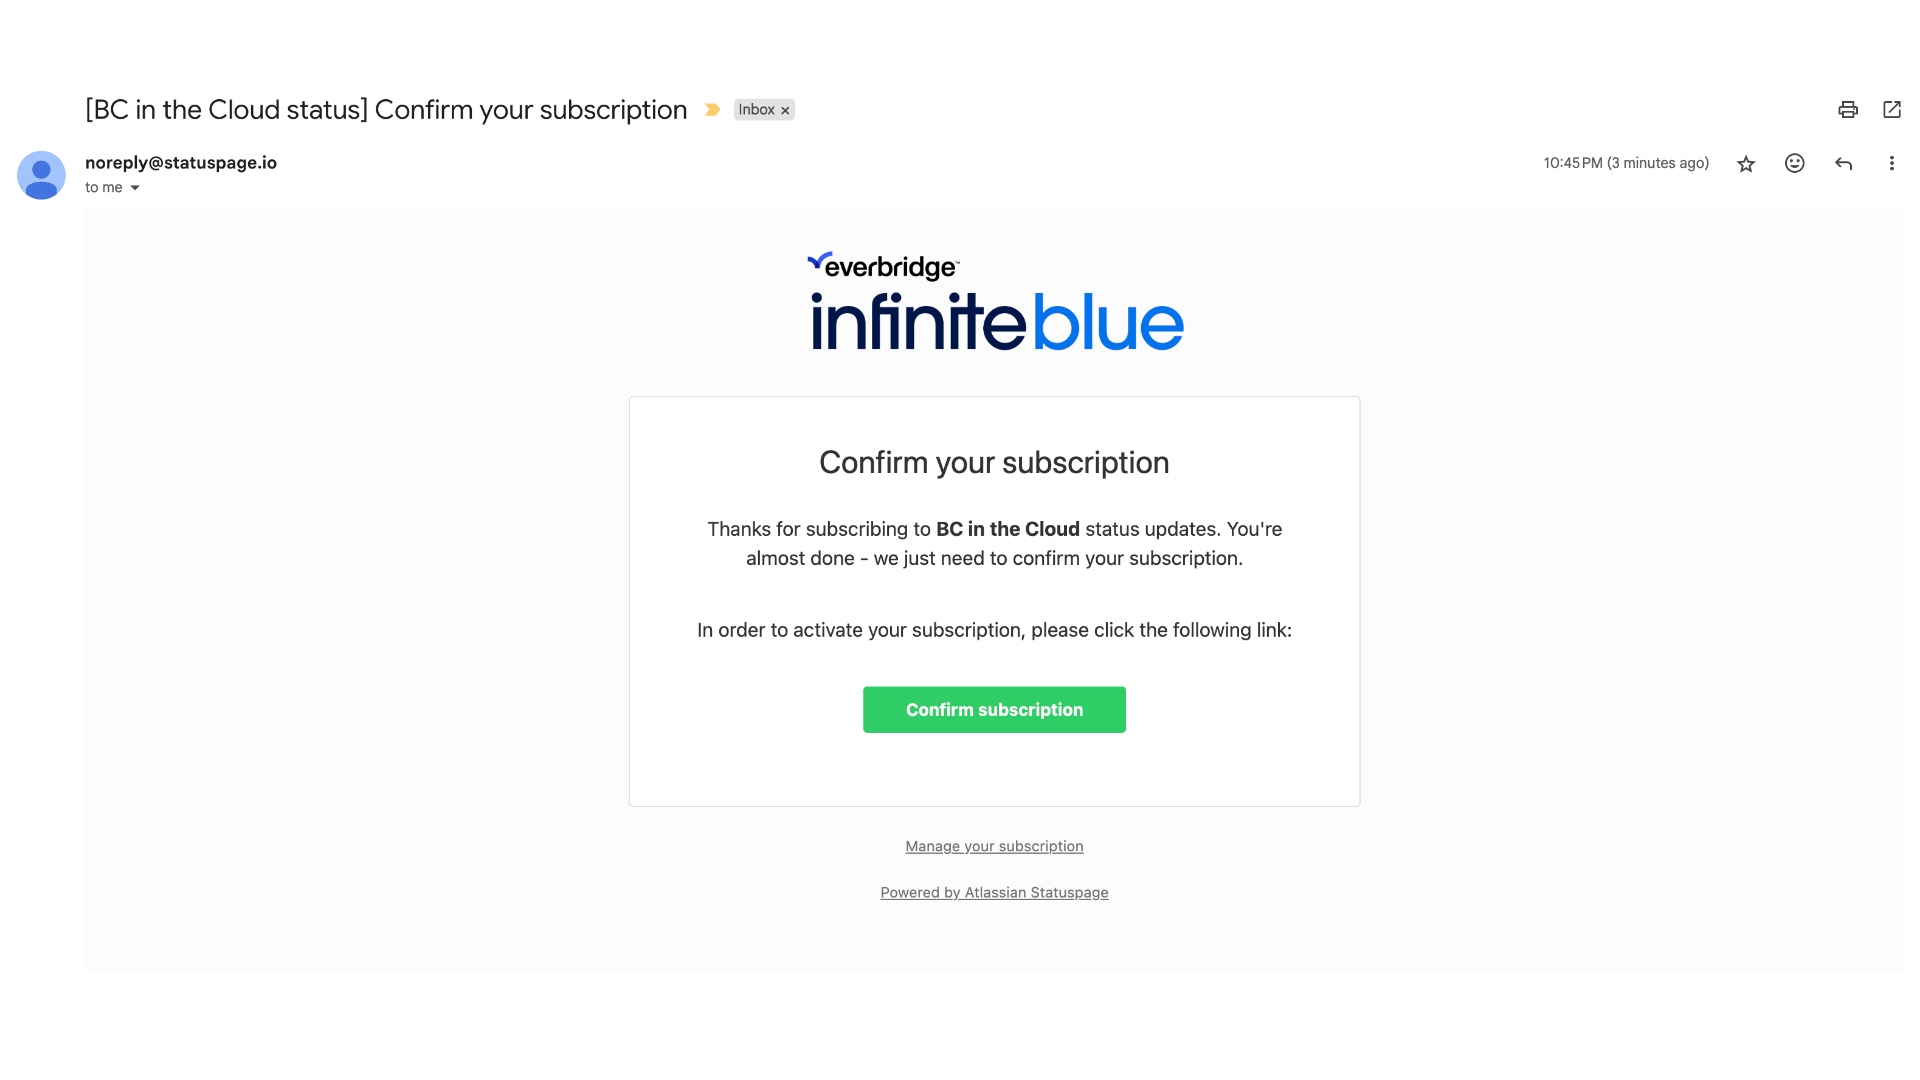
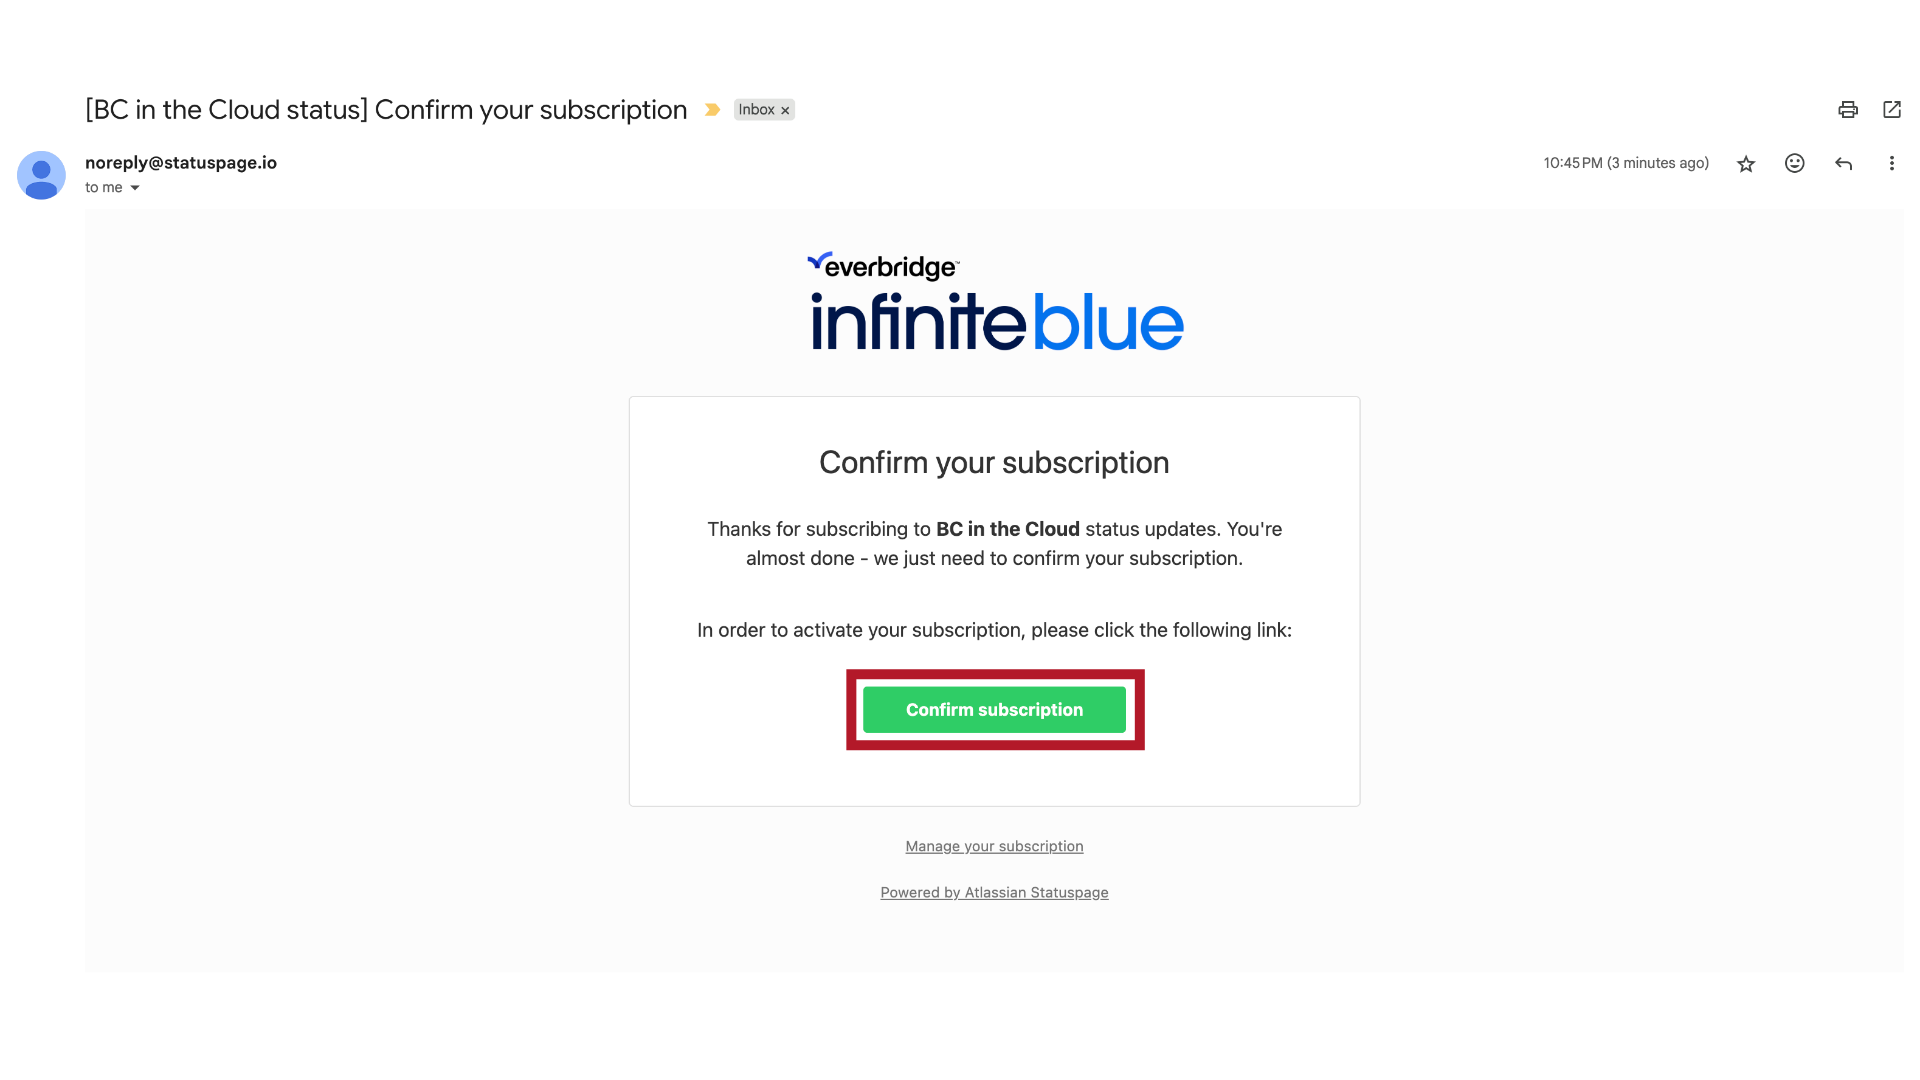
19. Confirm Subscription
Please check your inbox for the confirmation email and click the 'Confirm Subscription' button.
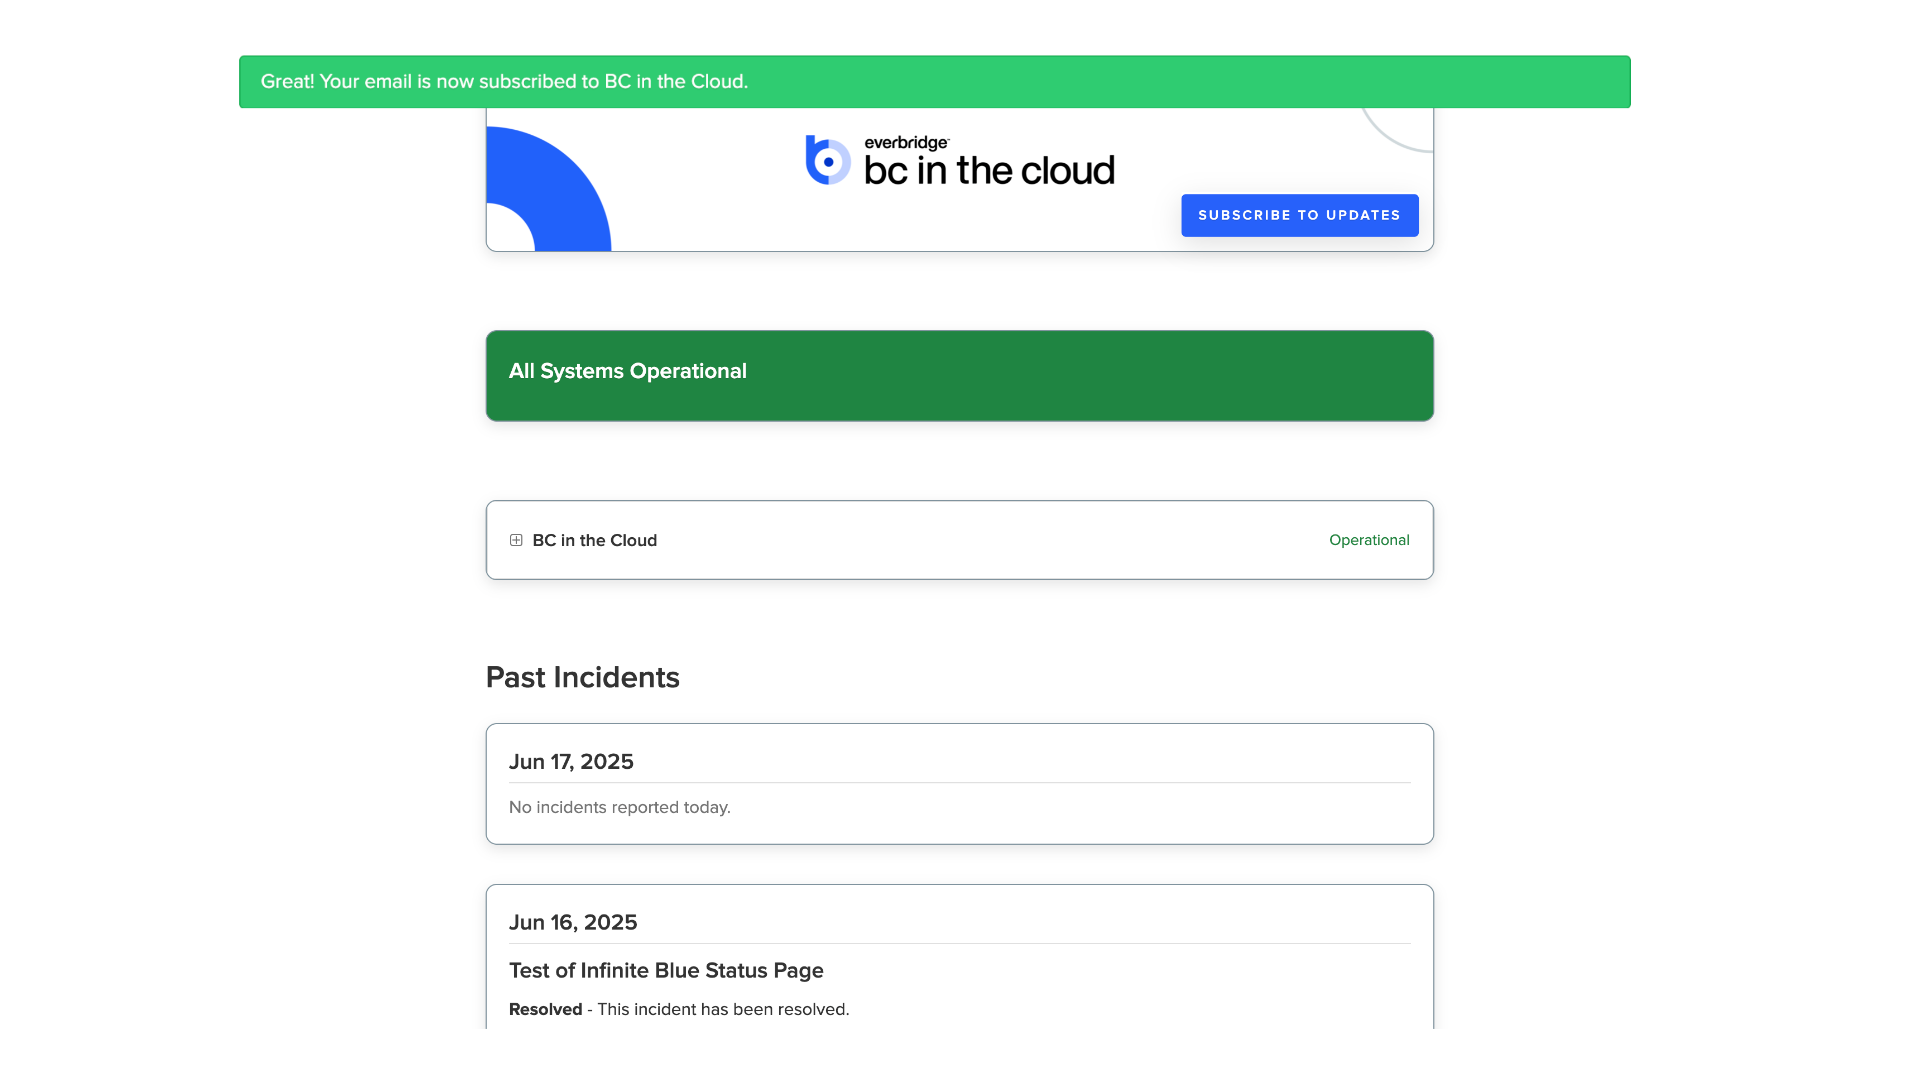
20. Status Page
Your subscription is now successfully activated! You will receive timely updates regarding the status of the BC in the Cloud service.
21. Manage Existing Subscription
Now, Let’s explore how to manage your existing subscription. There are two ways to access your subscription settings.
22. First Method
The first way is to click "Subscribe to Updates" again.
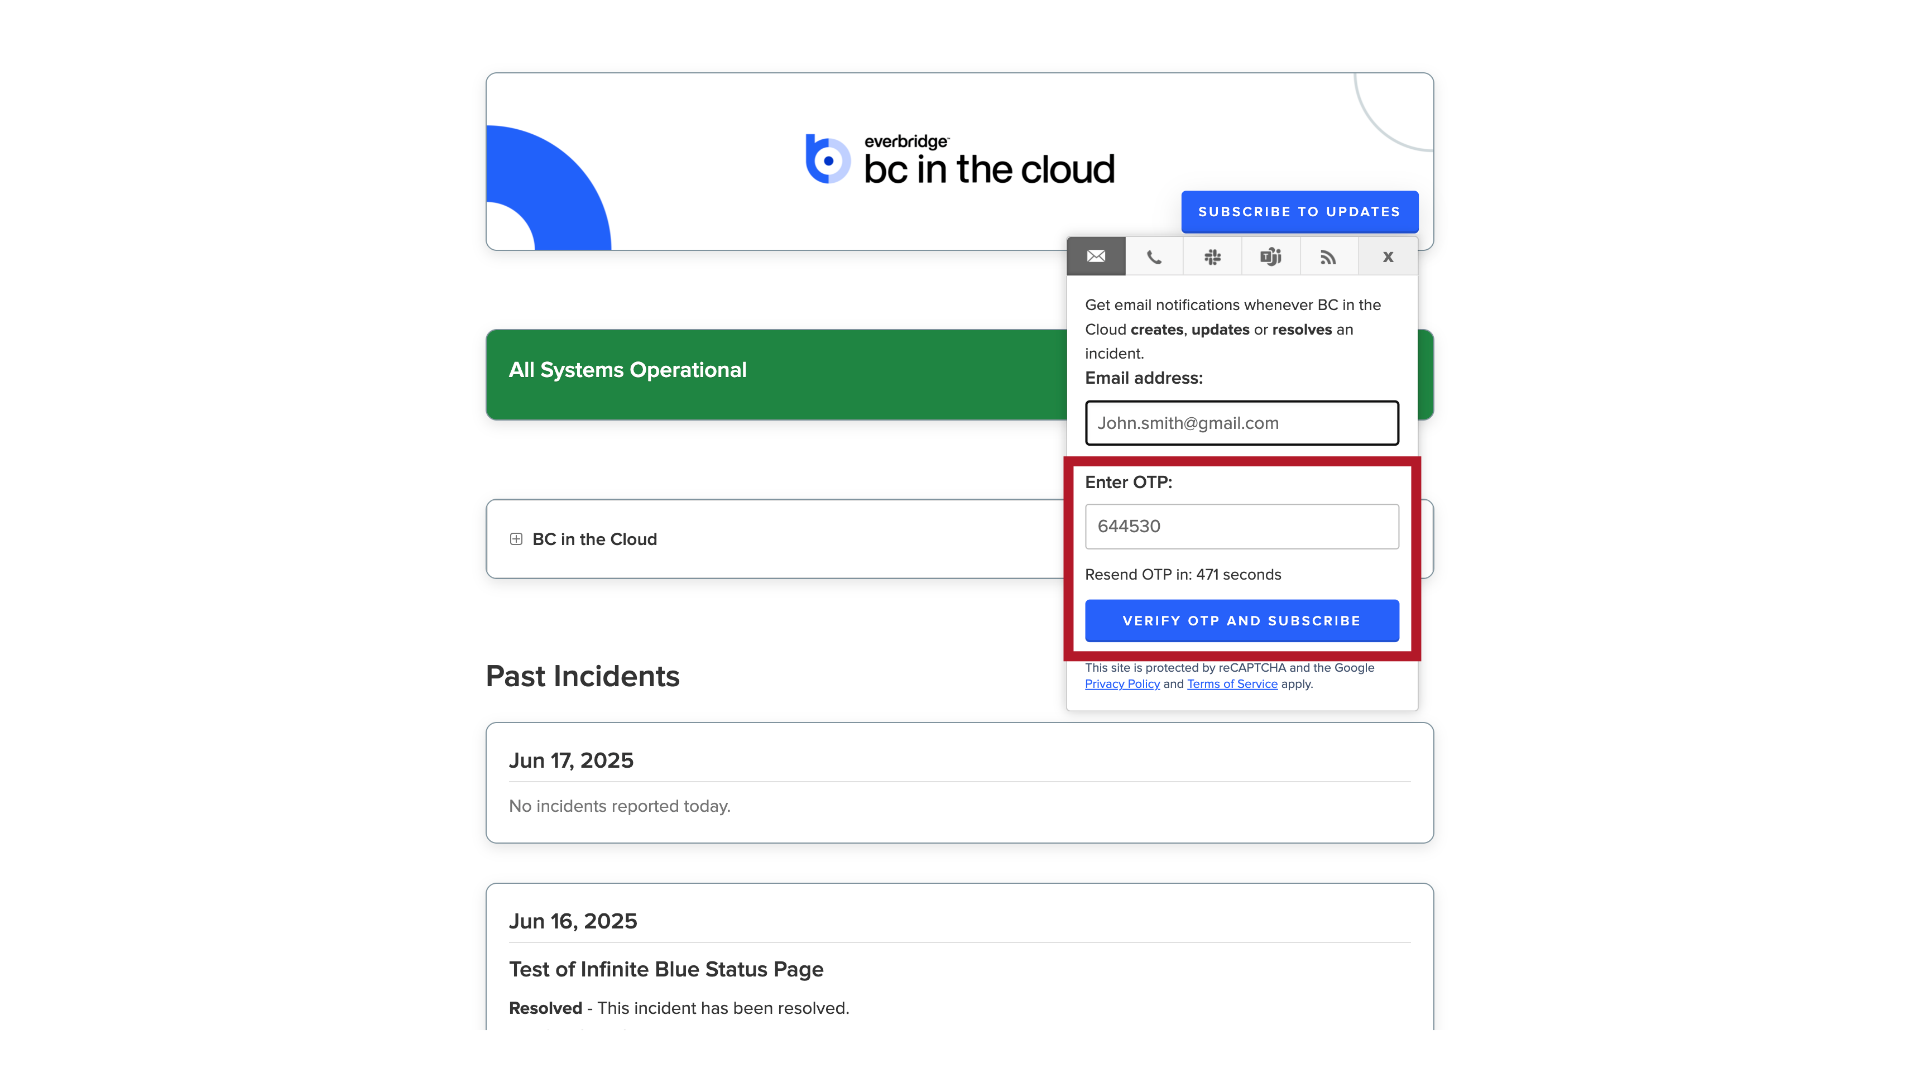
23. Requesting an OTP
Enter your email address, and click on "Subscribe via Email" to request a one-time password (OTP) to access your settings.
24. OTP Email
You will receive an email containing the OTP code.
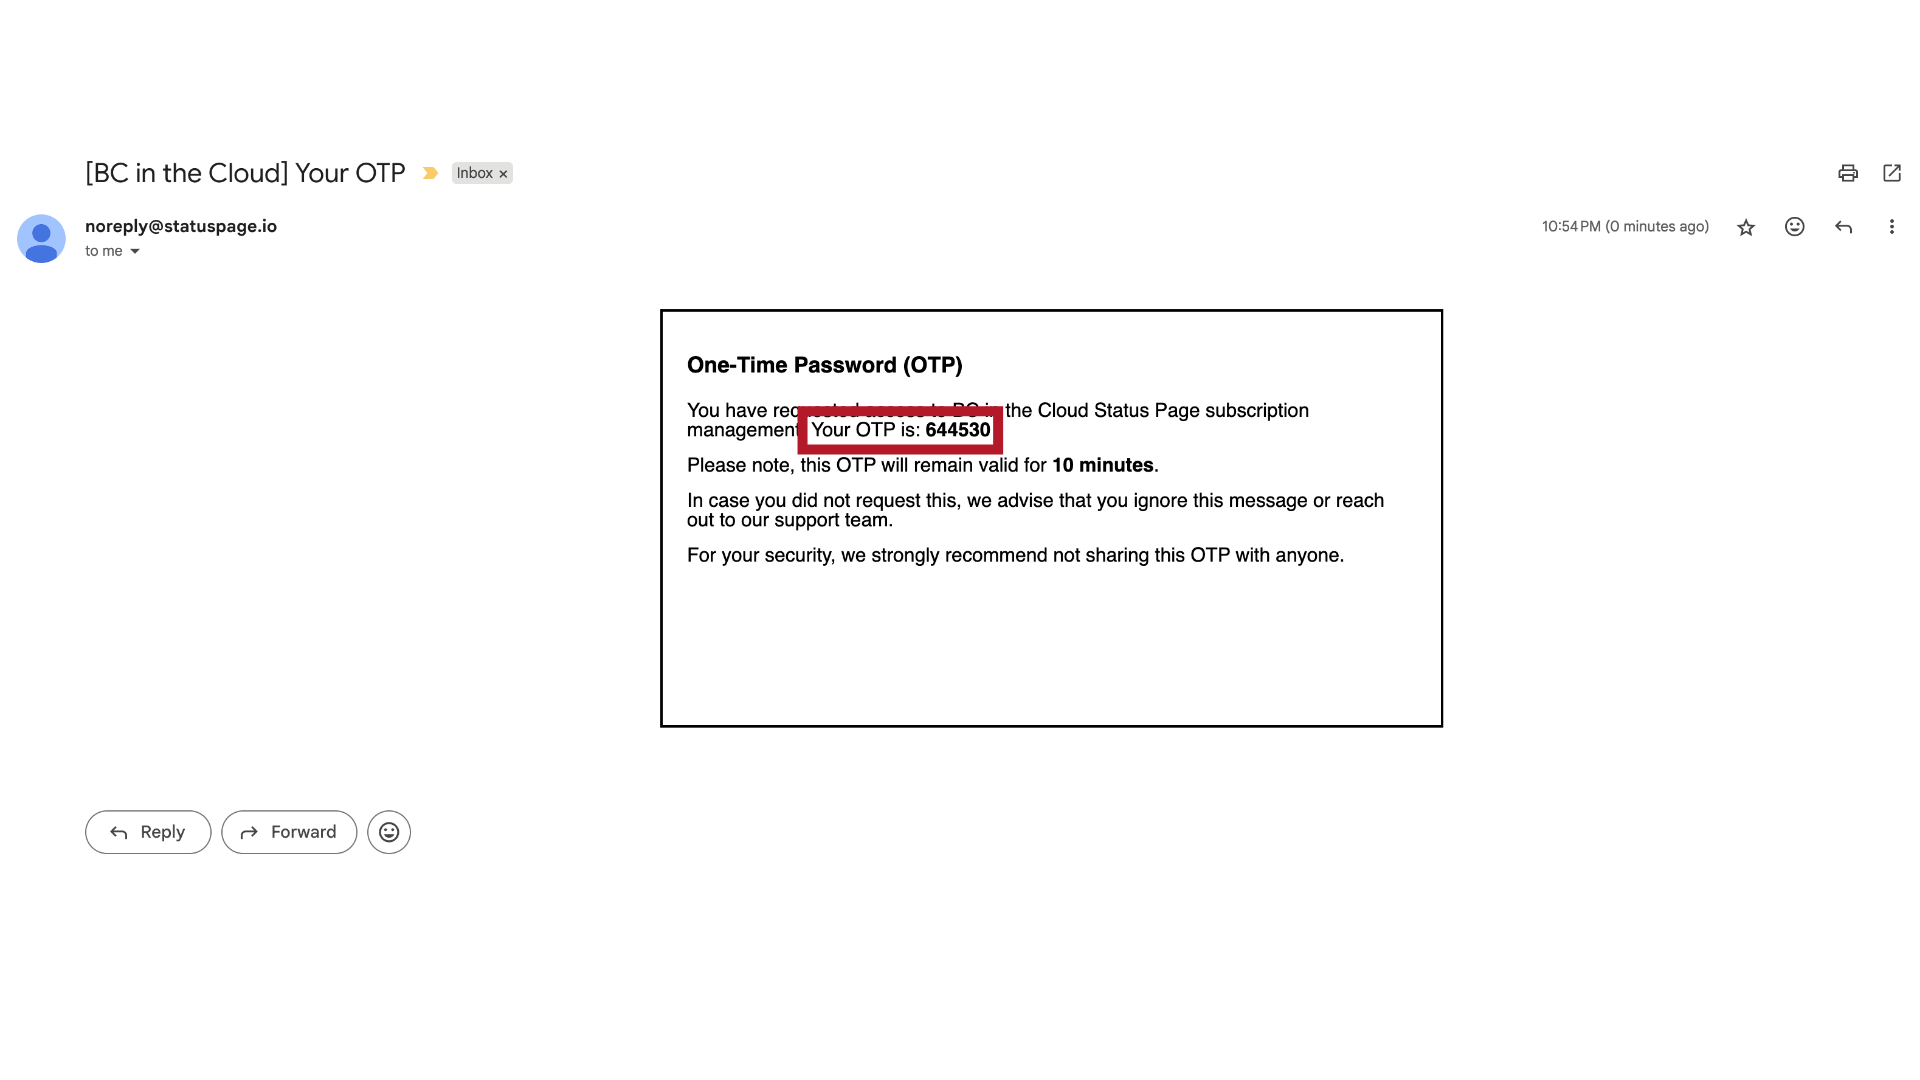
25. Verify OTP
Enter this code on the status page then click on 'verify' to access your subscription management.
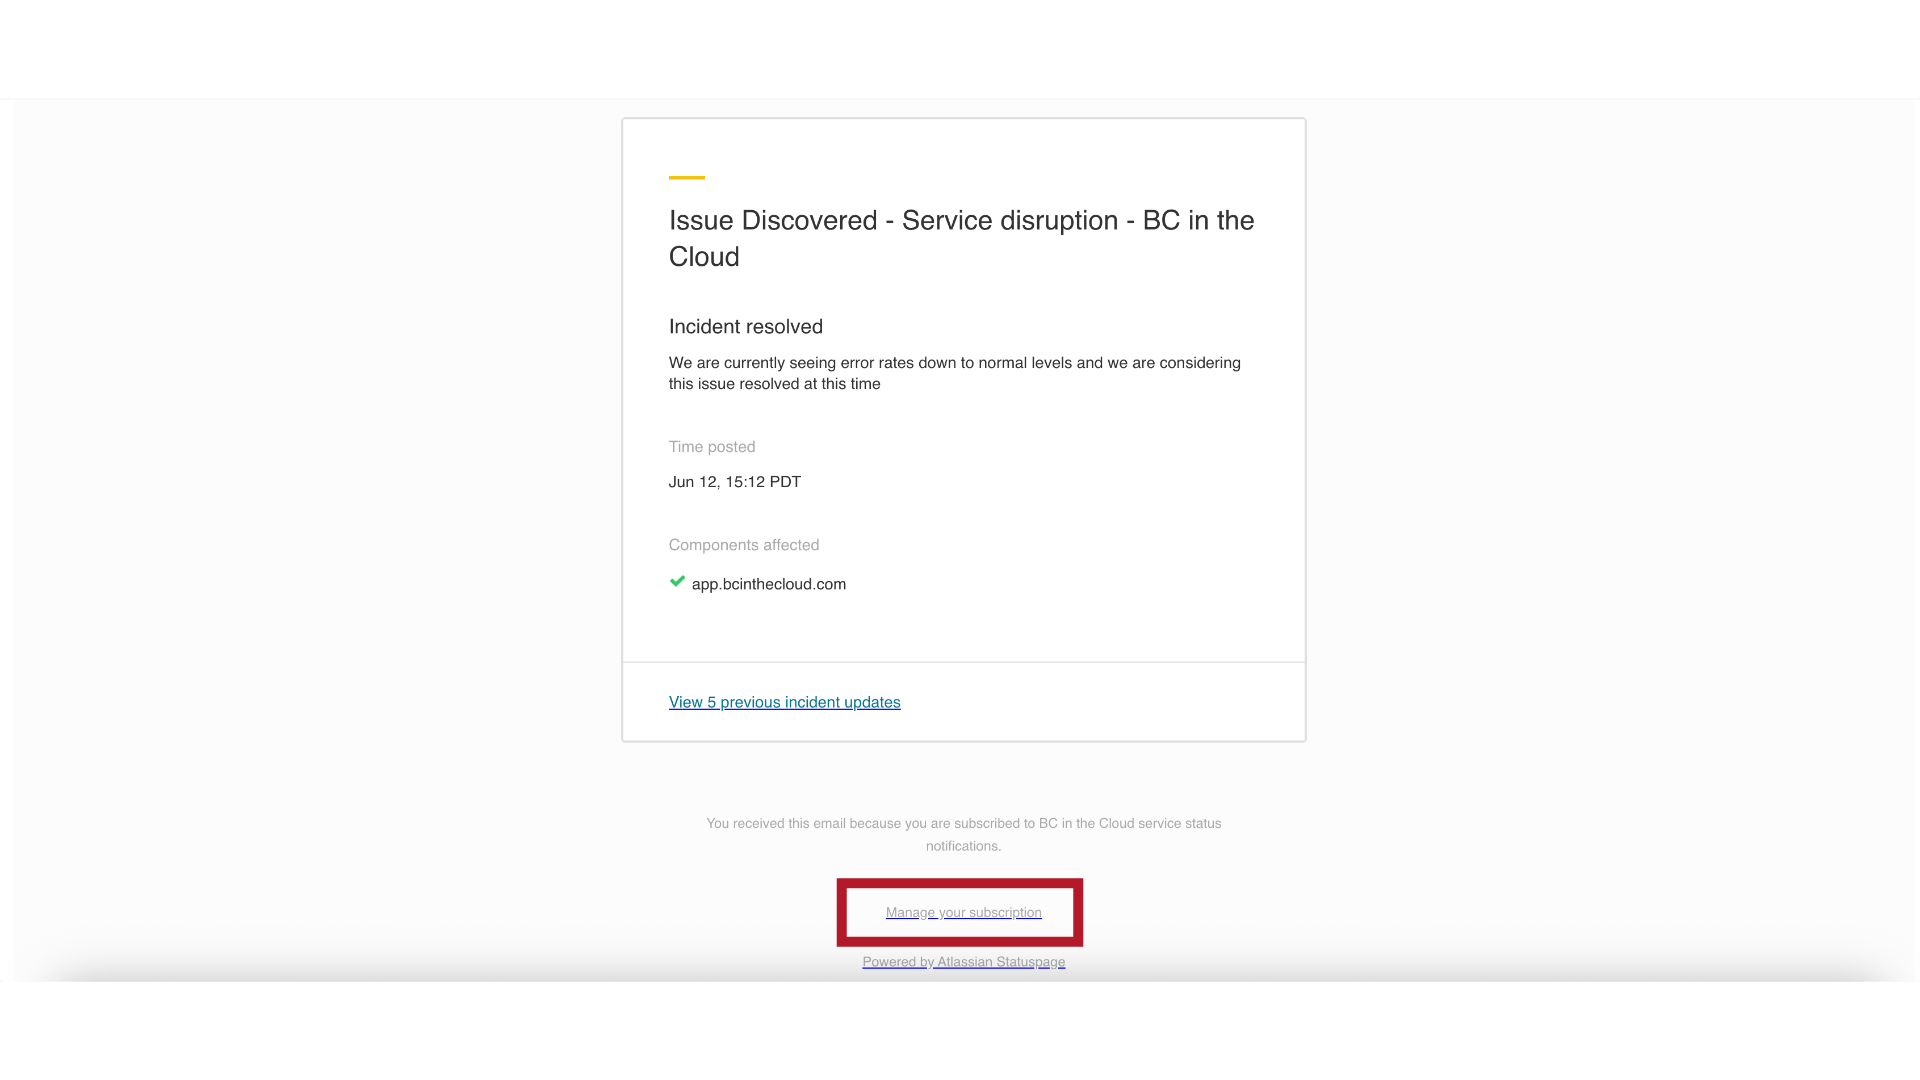
26. Subscription Link
The second way is through any status update email you receive, which includes a "Manage your subscription" link in the footer that automatically authenticates you without the need for an OTP.
27. Subscription Settings
Once you're in your subscription settings, you can either modify your preferences or unsubscribe completely.
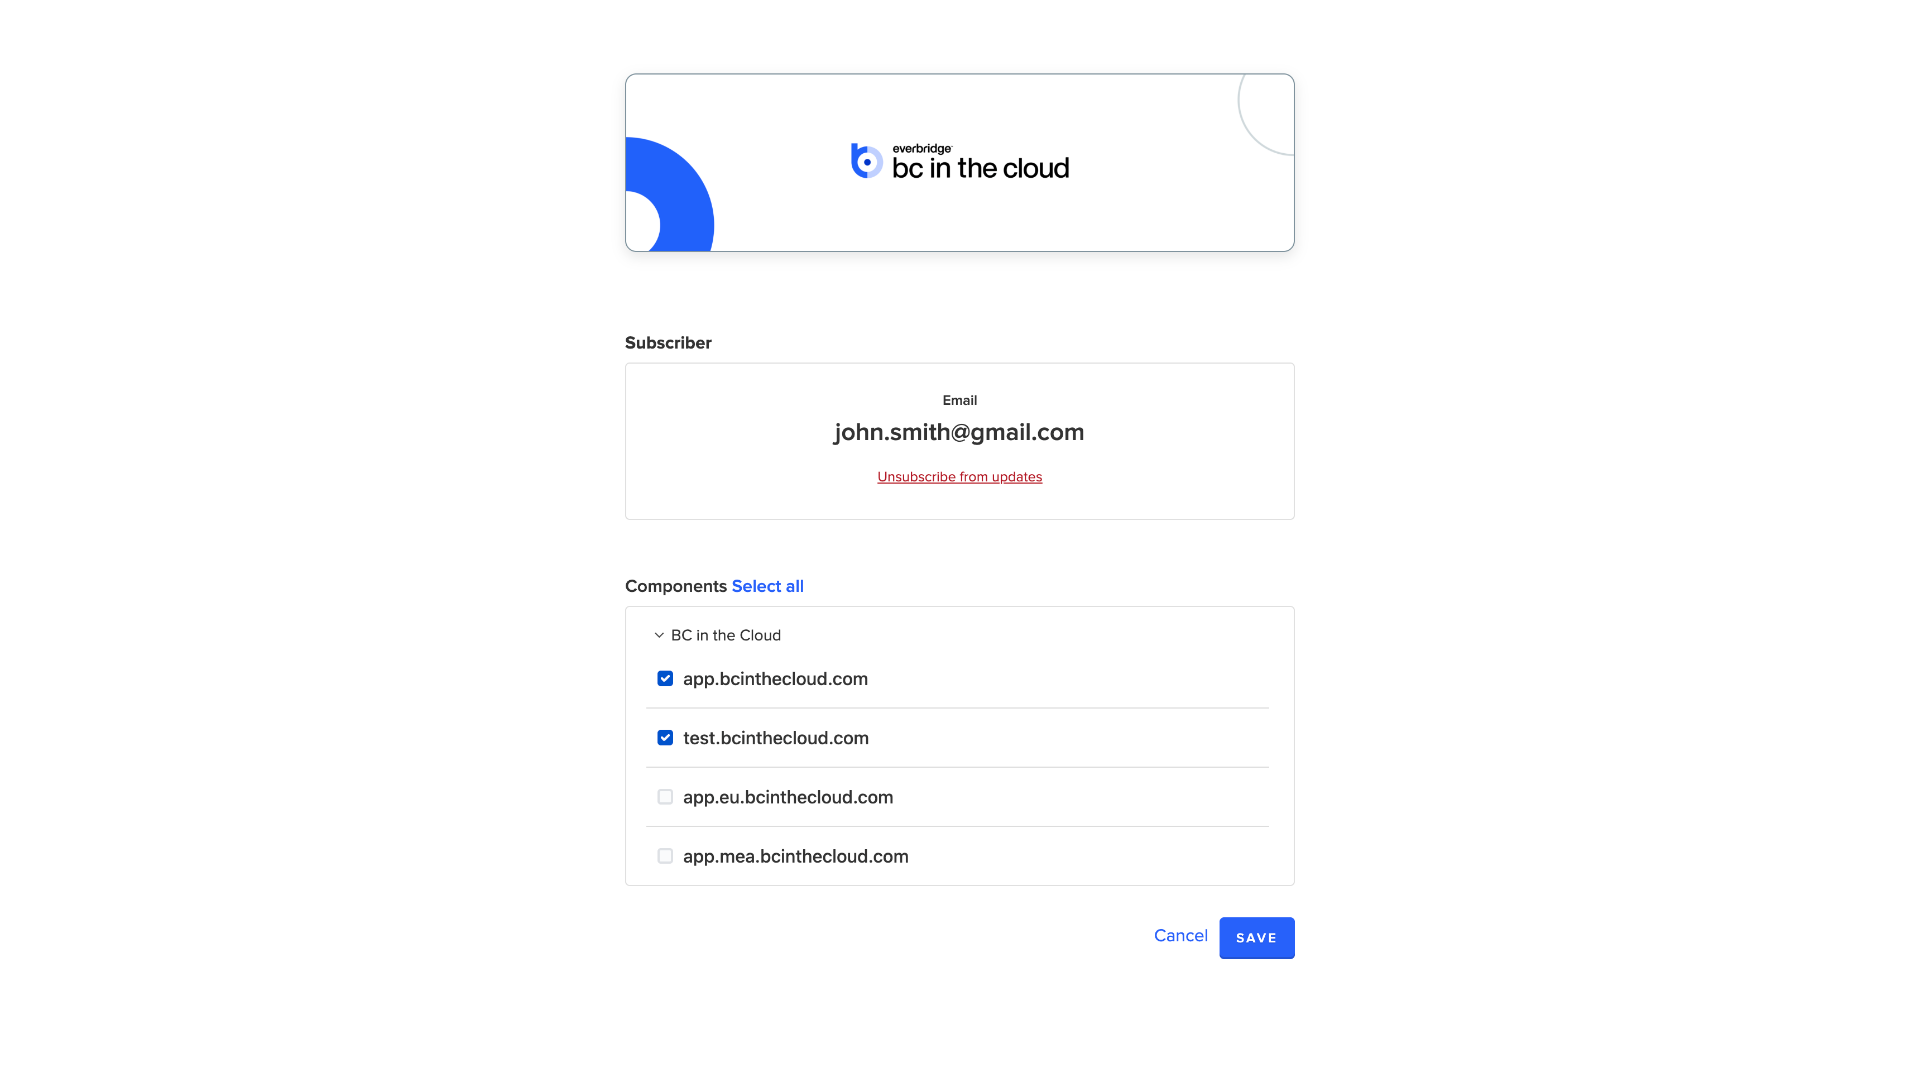
28. Modify Components
To update your preferences, simply use the checkboxes to select or deselect components, then click "Save.
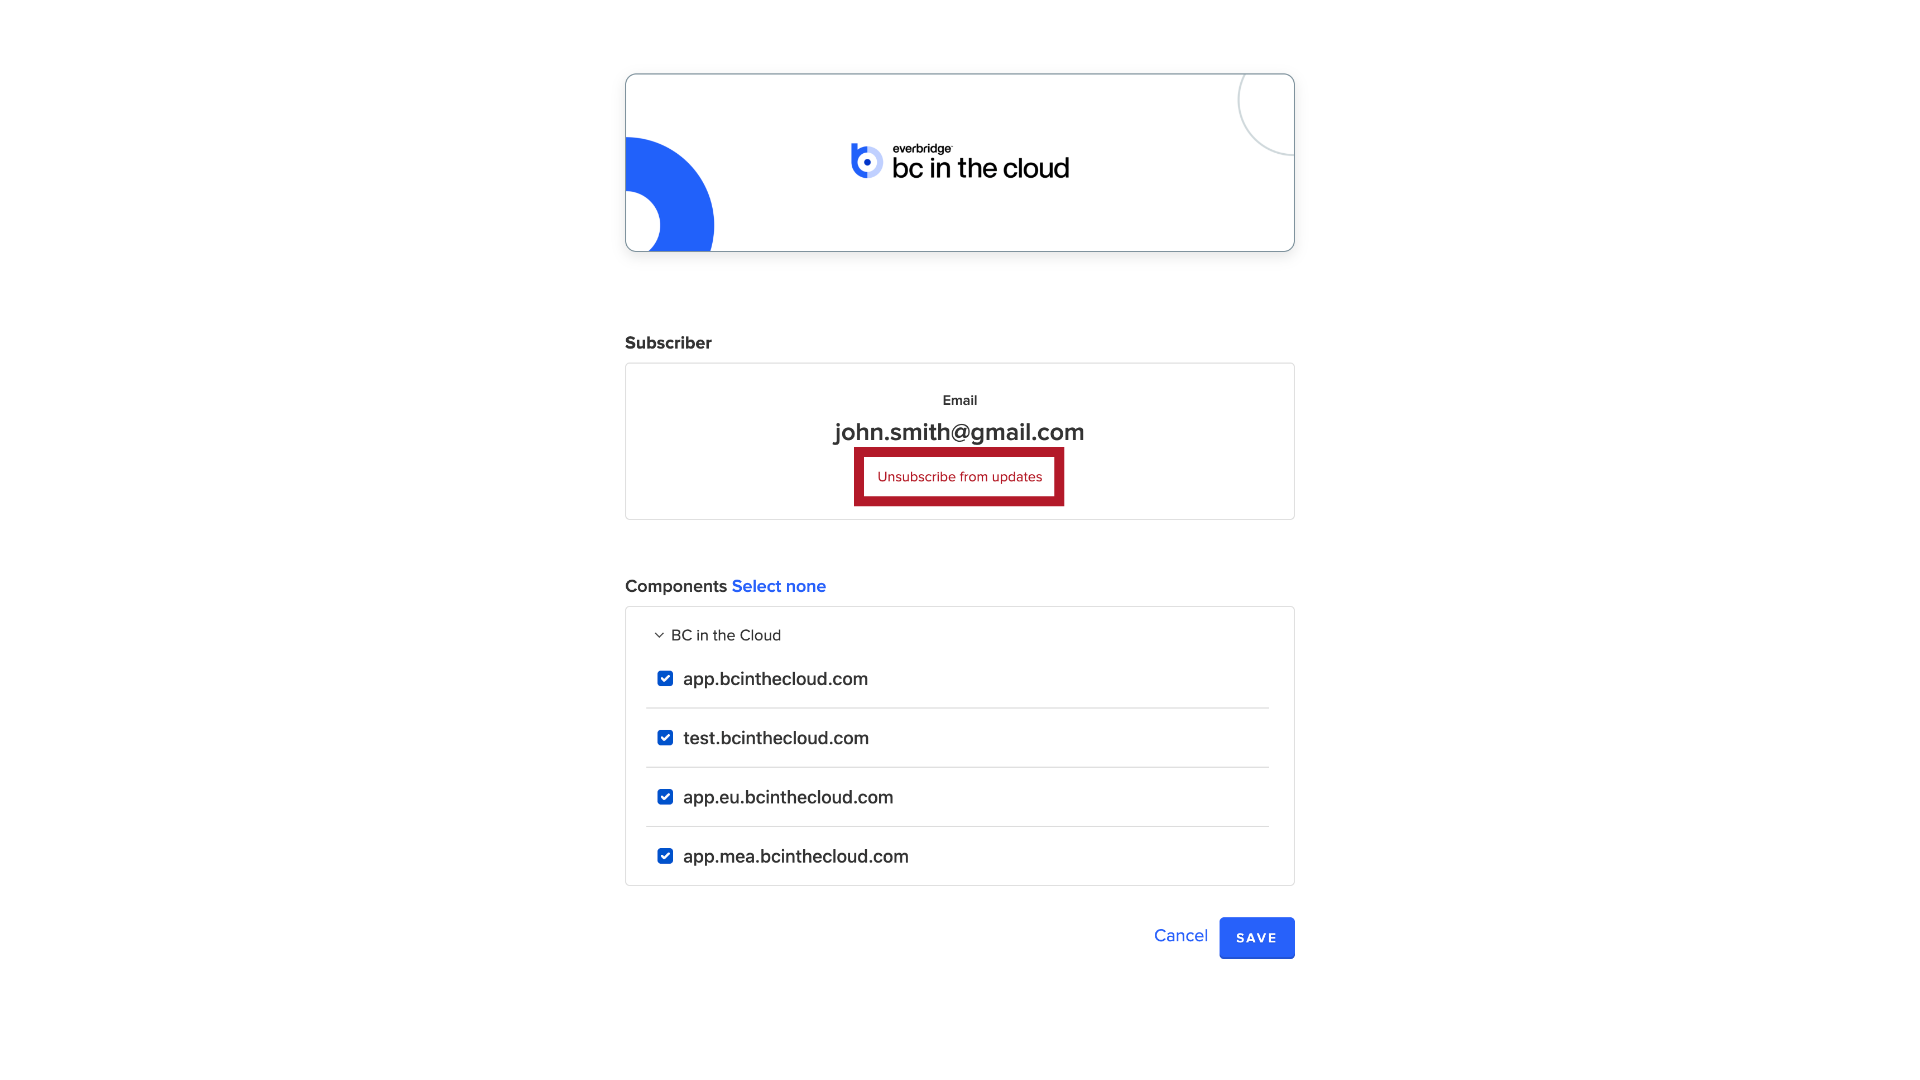
29. Unsubscribe from Updates
If you want to unsubscribe completely. click "Unsubscribe from updates".
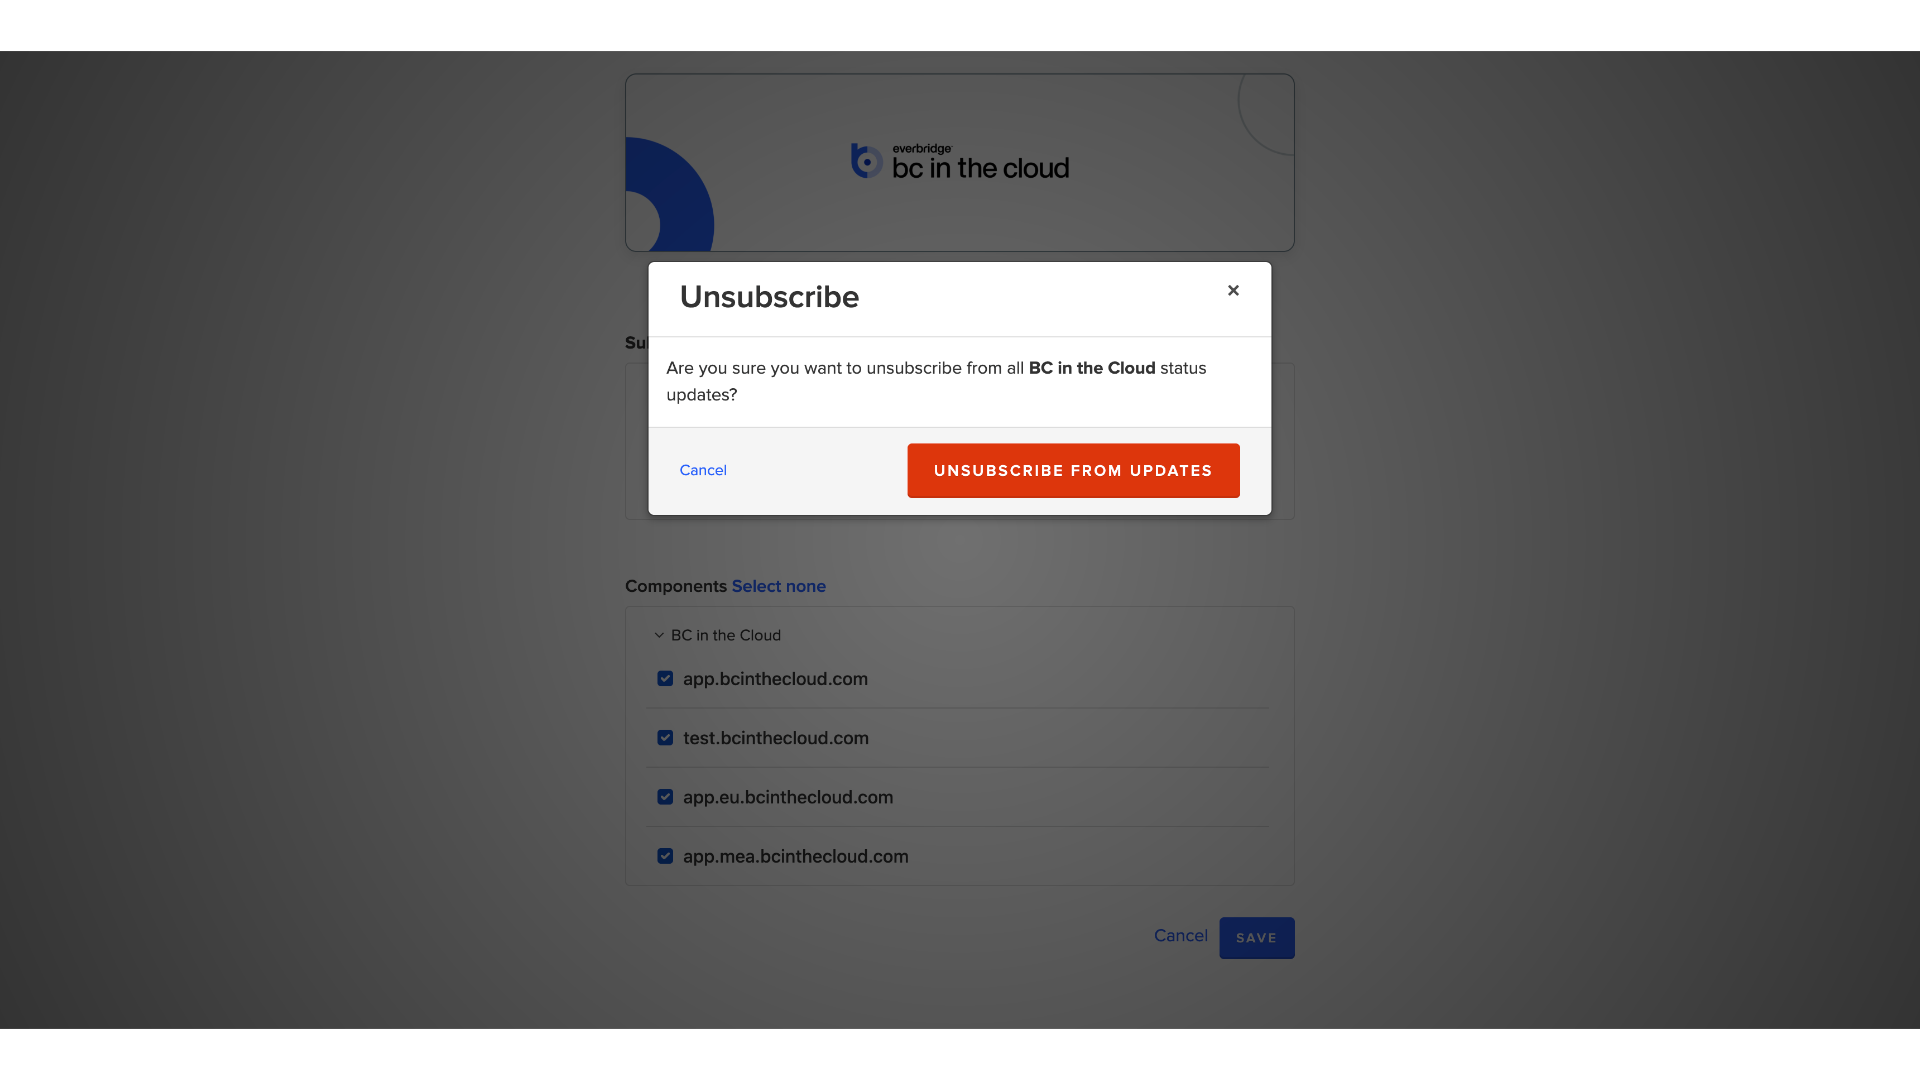
30. Confirm
And confirm your choice in the dialog box that appears.
If you have any questions or require assistance, please don't hesitate to reach out to our technical support team. Thank you!